 Pin It
 Create bakery-worthy Italian focaccia at home with this authentic method. The dough develops beautifully through a long rise, resulting in signature airy pockets and a pillowy texture beneath a golden, crisp crust.
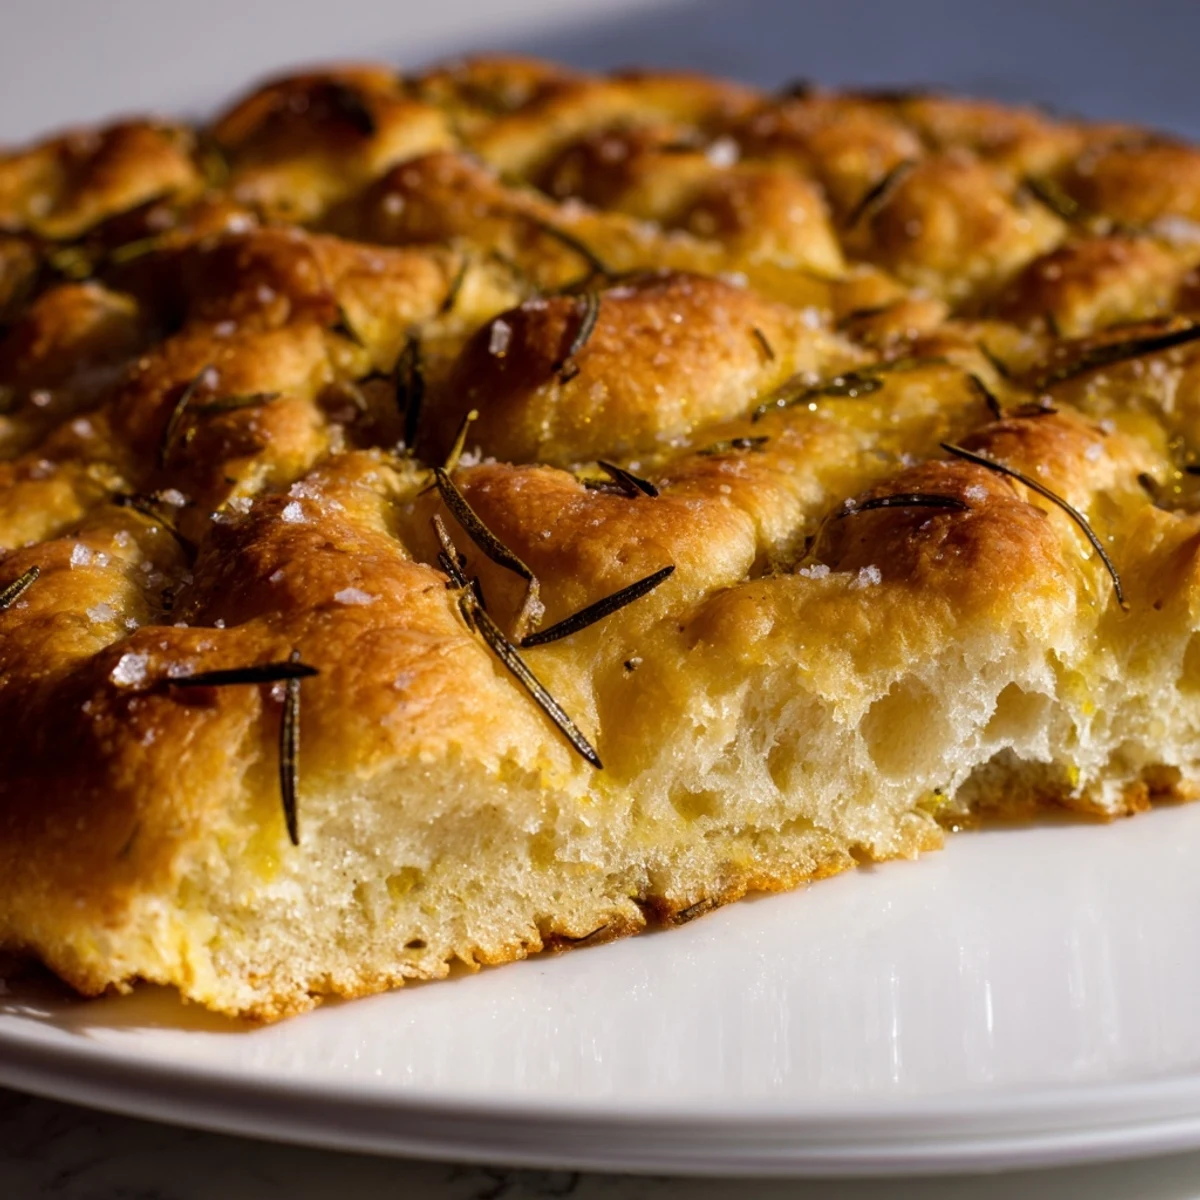
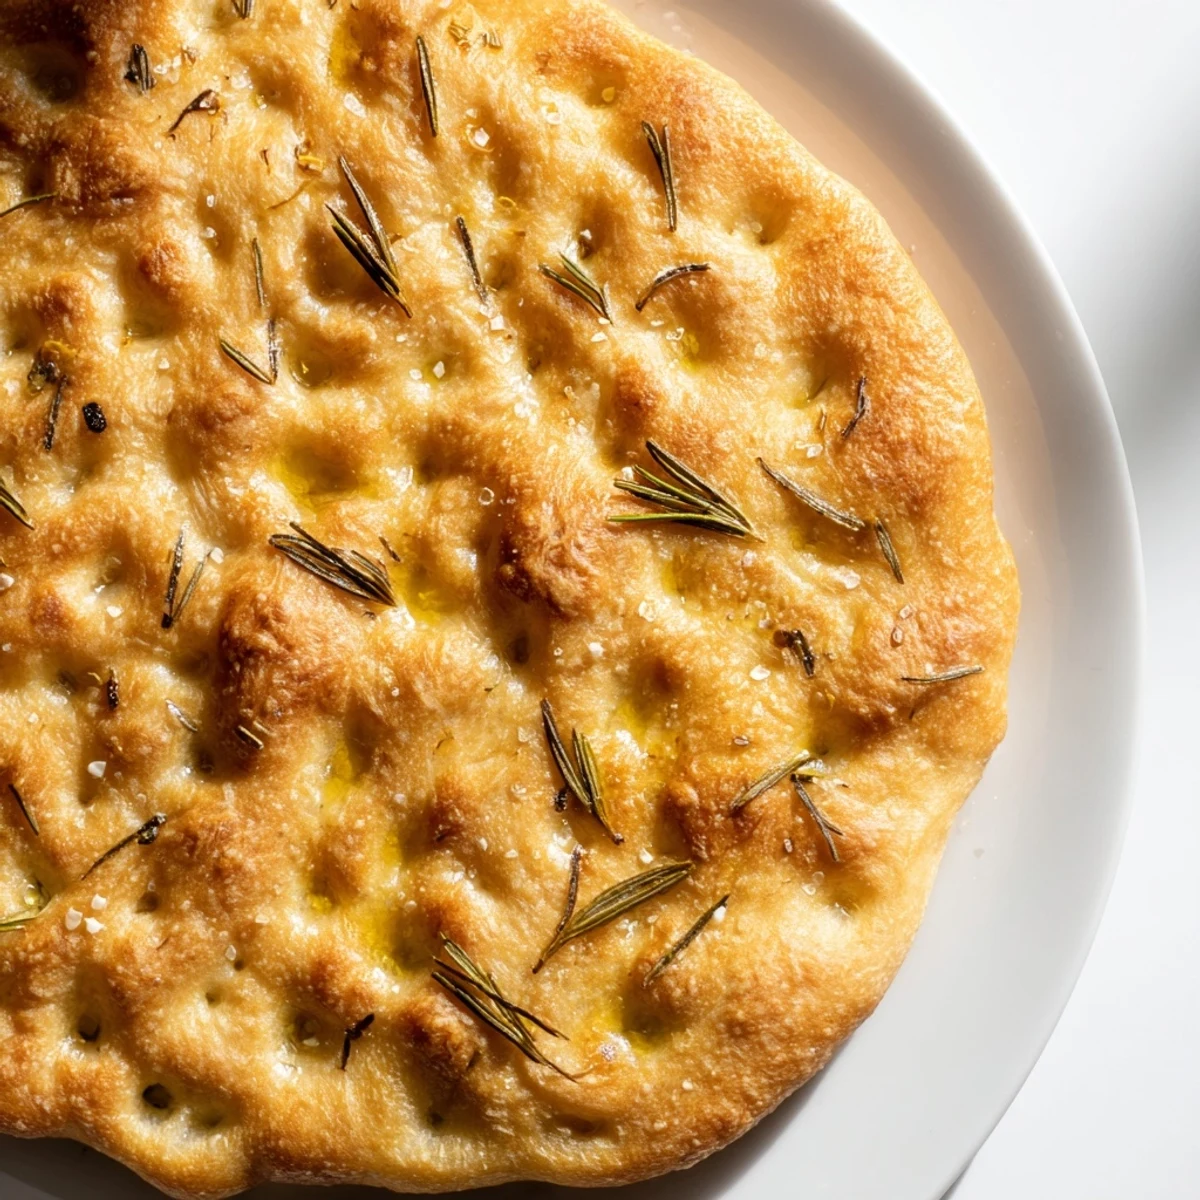
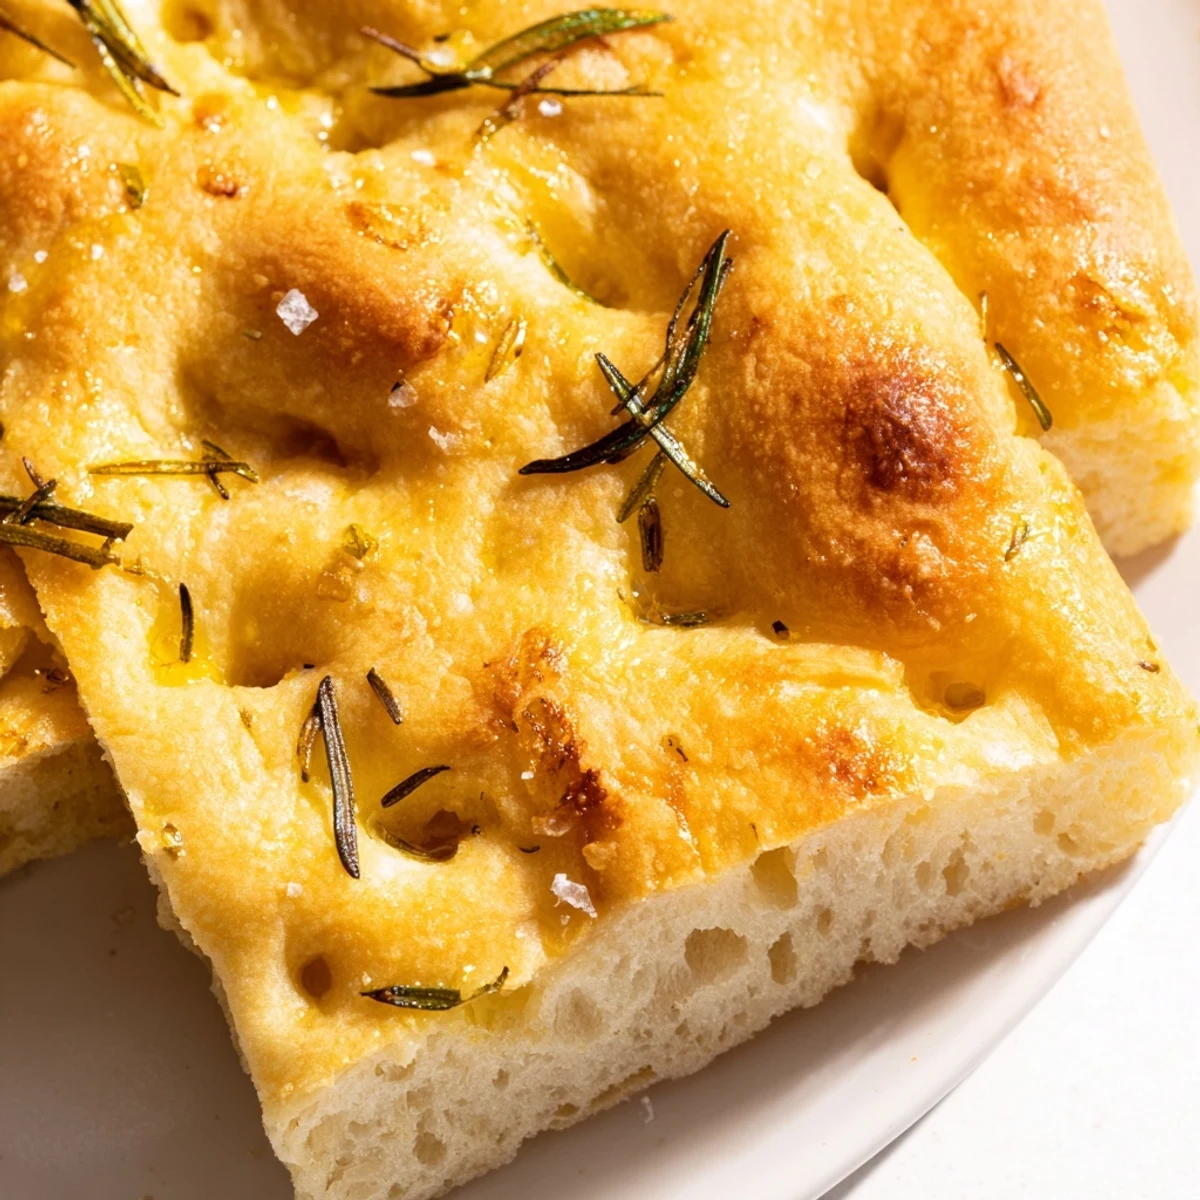
Generous amounts of extra virgin olive oil throughout the dough and as topping ensure rich flavor and that irresistible crackly exterior. Fresh rosemary and flaky sea salt provide classic Mediterranean aromatics.
The process is straightforward: mix, knead, let rise, press into a pan with signature dimples, then bake to golden perfection. The result beats any bakery version and fills your kitchen with incredible aromas.
The rain was hammering against the kitchen window the afternoon I decided focaccia would be my weekend project. Flour dusted every surface, the dog sat hopefully by the counter, and the smell of rosemary and olive oil slowly filled the house until even my teenagers emerged from their rooms to investigate. It was the kind of slow, messy afternoon cooking that reminds you why hands were invented before stand mixers.
My neighbor Carla once knocked on my door holding a jar of her homemade fig jam within minutes of me pulling a tray of this focaccia from the oven. We stood in the hallway tearing off warm pieces and eating them right there, jam dripping onto our wrists, not even bothering with plates. That jar was empty before the bread even cooled.
Ingredients
- Bread flour (500 g): Bread flour gives the crumb more chew and structure than all purpose, though all purpose works if that is what you have.
- Lukewarm water (325 ml): Think bath temperature, not hot tea, because scalding water will kill your yeast stone dead.
- Salt (2 tsp): Do not skip or reduce this, because salt is what stops focaccia from tasting like damp cardboard.
- Sugar (2 tsp): A small amount feeds the yeast and helps the crust brown beautifully in the oven.
- Instant dry yeast (7 g): One standard sachet is all you need, and instant yeast skips the blooming step entirely.
- Extra virgin olive oil (60 ml plus 2 tbsp): The first measure goes into the dough for richness and the second gets drizzled on top for that unmistakable Mediterranean fragrance.
- Fresh rosemary leaves (1 tbsp): Strip the needles from woody stems and chop them roughly so the oils release into the bread as it bakes.
- Flaky sea salt: A generous pinch scattered over the top just before baking gives you those addictive salty crunches in every bite.
Instructions
- Bring the dry team together:
- Tip the flour, salt, sugar, and yeast into a large bowl and whisk them with your fingers so everything is evenly distributed before any liquid joins the party.
- Add the wet ingredients:
- Pour in the lukewarm water and olive oil, then stir with a wooden spoon until you have a shaggy, very sticky dough that looks impossibly wet.
- Knead with conviction:
- Turn the dough onto a floured counter and work it for eight to ten minutes, pushing it away with the heel of your palm and folding it back until it turns smooth, springy, and slightly tacky.
- Let it sleep and grow:
- Shape the dough into a ball, place it in an oiled bowl, cover with a damp cloth, and leave it somewhere warm for one to one and a half hours until it has puffed to double its size.
- Press and dimple:
- Generously oil your baking tray, gently transfer the risen dough onto it, and press it out evenly using your fingertips to create those characteristic little pools across the surface.
- Dress the top:
- Drizzle the remaining olive oil over the dough so it pools in the dimples, then scatter rosemary and flaky sea salt across the entire surface.
- One more rise:
- Cover the tray loosely and let the dough puff up for another thirty minutes while you preheat the oven to 220 degrees Celsius.
- Bake until golden:
- Slide the tray into the hot oven and bake for twenty to twenty five minutes until the top is deeply golden and the bottom sounds hollow when tapped.
- Cool just enough:
- Let it rest on the tray for five minutes so the crumb settles, then slice into squares and serve while it is still warm enough to melt butter on contact.
 Pin It
 The moment I watched my father in law close his eyes after biting into a still warm piece and whisper that it was better than the bakery in his village, I understood why Italians treat bread with reverence. Food like this builds quiet bridges between people who do not share a language.
Getting the Texture Right
The secret to that open, holey crumb lies in a high hydration dough and gentle handling. When you press the dough into the tray, treat it tenderly rather than punching it down aggressively, because those air bubbles you are trying to preserve are what create the beautiful pockets inside. If your kitchen is cold, a warm oven turned off or a spot near a sunny window can shave significant time off the rise.
Fun With Toppings
Once you have the base recipe dialed in, focaccia becomes a blank canvas for whatever is seasonal or sitting in your fridge. Halved cherry tomatoes pressed cut side up into the dough burst into sweet jammy pockets, sliced olives bring a briny punch, and thin rounds of caramelized onion melt into the crust in the most irresistible way.
Serving and Storing
Leftover focaccia keeps well wrapped in foil at room temperature for two days and revives beautifully with a quick five minute blast in a hot oven. For an extra crispy base that mimics a professional pizza stone, preheat an inverted baking sheet in the oven and slide your focaccia directly onto it.
- Warm wedges served with good olive oil and balsamic vinegar make an effortless appetizer that guests always adore.
- Day old focaccia toasts into incredible croutons for tomato soup or a panzanella salad.
- Freeze sliced portions between sheets of parchment and reheat straight from frozen whenever the bread craving hits.
 Pin It
 Keep this recipe close, because once the people you love taste it straight from the oven, they will ask for it at every gathering. There are worse problems to have than being known as the focaccia person.
Recipe Questions & Answers
- → Why is my focaccia dense instead of airy?
-
Dense focaccia usually results from insufficient rising time or not enough olive oil. Ensure the dough doubles during the first rise, and don't skip the generous oil coating before baking. The oil creates steam pockets that enhance the airy texture.
- → Can I make focaccia without yeast?
-
Traditional focaccia requires yeast for its characteristic rise and texture. While baking powder or sourdough starter can substitute, they won't produce the same light, chewy crumb. Instant yeast gives the most reliable results for beginners.
- → What's the purpose of dimpling the dough?
-
Those signature finger indentations create reservoirs for olive oil to pool, enhancing flavor and creating the classic crisp-chewy texture contrast. Dimpling also helps the dough hold its shape and prevents excessive bubbling during baking.
- → How should I store leftover focaccia?
-
Wrap completely cooled focaccia tightly in plastic or store in an airtight container at room temperature for up to 2 days. For longer storage, freeze sliced portions in freezer bags and reheat in a 350°F oven to restore crispness.
- → Can I prepare the dough ahead of time?
-
Absolutely. After the first rise, punch down the dough and refrigerate overnight in an oiled bowl covered tightly. The cold fermentation develops deeper flavor. Bring to room temperature before pressing into the pan and proceeding with the second rise.
- → What other toppings work well on focaccia?
-
Beyond rosemary and sea salt, try thinly sliced garlic, caramelized onions, cherry tomatoes, olives, or grated Parmesan. Add toppings after dimpling but before the final rise so they bake into the crust rather than burning.