 Pin It
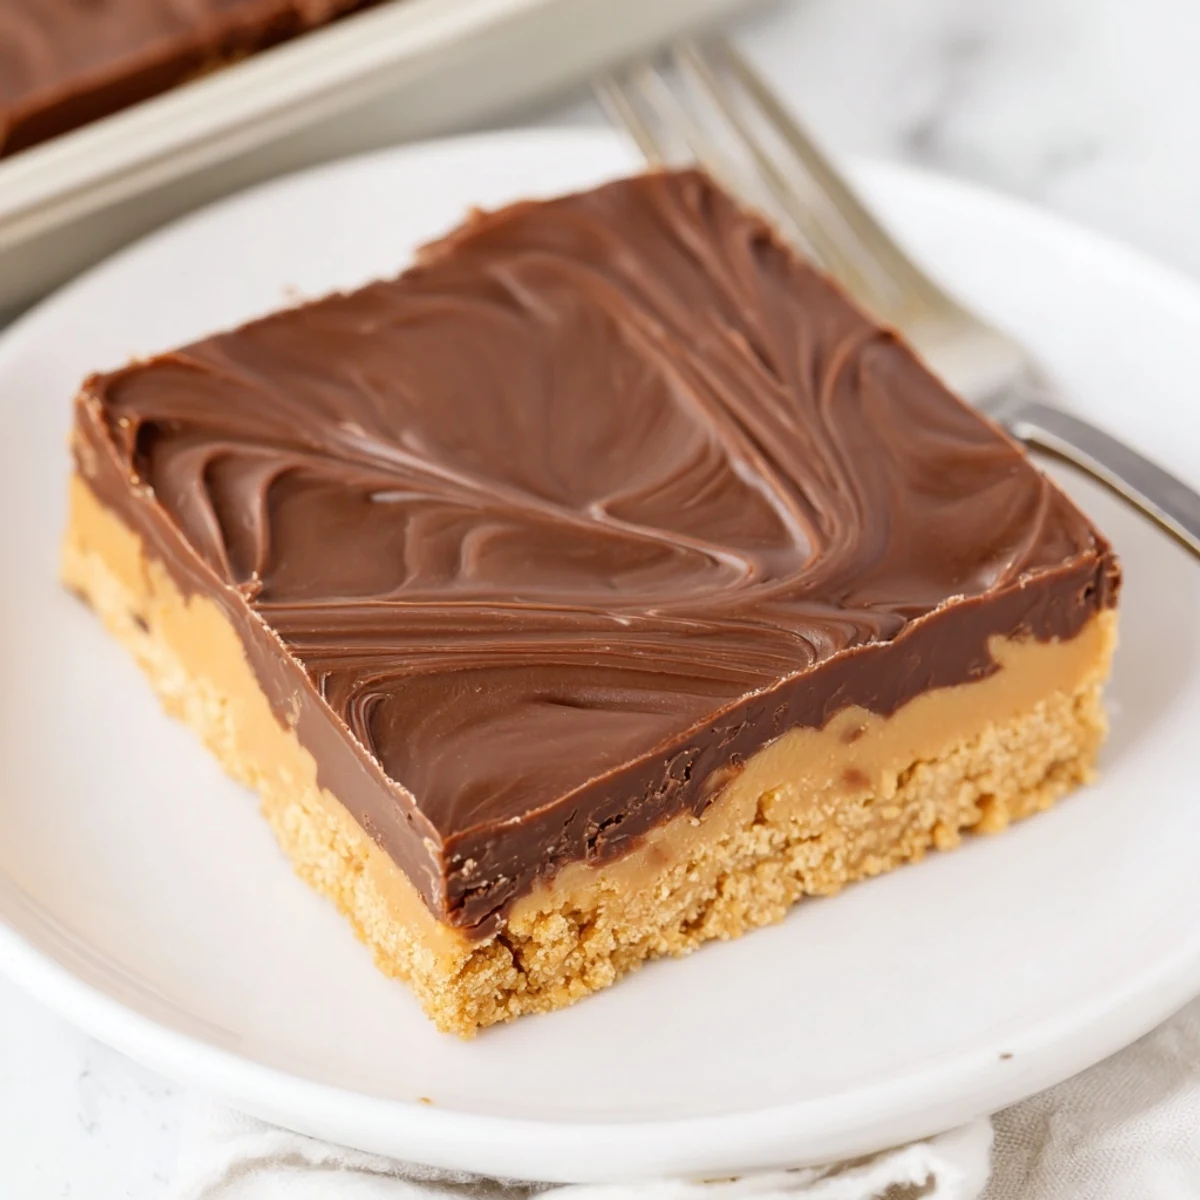
 These no-bake peanut butter bars layer a dense, sweet base of creamy peanut butter, melted butter, powdered sugar and graham crumbs with a glossy chocolate–peanut butter topping. Press the base into an 8×8 pan, chill until firm (about 2 hours), pour melted chocolate mixture on top, then chill again. Yields 16 bars; store chilled up to one week. Try chunky peanut butter or a pinch of sea salt to brighten flavors.
The first time I made these no bake peanut butter bars, I did it to satisfy an afternoon craving that wouldn’t quit. There was a rainstorm outside, thunder rumbling, but all I could think about was getting that perfect peanut butter and chocolate fix without turning on the oven. So, with just a handful of pantry staples and my favorite playlist on in the background, I ended up discovering just how quickly sweet tooth emergencies could be solved. It was the kind of messy, relaxed kitchen moment that always makes me smile.
I remember serving these bars at a last minute book club meetup—people actually paused mid-sentence to ask for the recipe after the first bite. There was chocolate smeared on napkins, a few crumbs on the coffee table, and everyone agreed this was the dessert version of instant happiness.
Ingredients
- Creamy peanut butter: Stick with a no-stir variety for the smoothest texture—the kind you can scoop and dollop easily.
- Unsalted butter: Melting it first ensures every crumb holds together for a sturdy but luscious base.
- Powdered sugar: I sift mine so the bars end up extra silky, with no weird lumps hiding in the mix.
- Graham cracker crumbs (or digestive biscuit crumbs): Crushing these in a zip bag (rolling pin therapy!) creates just the right crumbly structure.
- Vanilla extract: Just a tiny trickle is enough to round out all the sweet flavors.
- Semi-sweet chocolate chips: They melt like a dream and set to the perfect snap once chilled.
- Creamy peanut butter (for topping): This extra hit of peanut butter in the chocolate topping keeps everything happily in balance.
Instructions
- Prep your pan:
- Line an 8x8 inch pan with parchment paper, leaving some over the edges so you can lift everything out easily later.
- Make the peanut butter base:
- In a big bowl, mix the melted butter and one cup of peanut butter until it’s pale, creamy, and pooled with that classic peanutty aroma.
- Mix in the dry ingredients:
- Stir in powdered sugar, graham cracker crumbs, and vanilla—watch the dough come together into a thick, almost fudgy mass that’s hard to resist sampling.
- Press and smooth:
- Dump the mixture into your lined pan and press it down evenly; a spatula works but your clean hands do the job best.
- Melt the topping:
- In a microwave-safe bowl, combine chocolate chips and the last bit of peanut butter, heating in 30-second bursts until glossy and completely smooth.
- Finish the bars:
- Pour the chocolate-peanut butter topping evenly over the base and coax it to the corners with the back of a spoon.
- Chill out:
- Slip the whole pan into the fridge for at least two hours, until the topping is set with a gentle tap.
- Slice and serve:
- Use your parchment handles to lift out the chilled slab, cut into 16 neat bars, and get ready for happy faces.
 Pin It
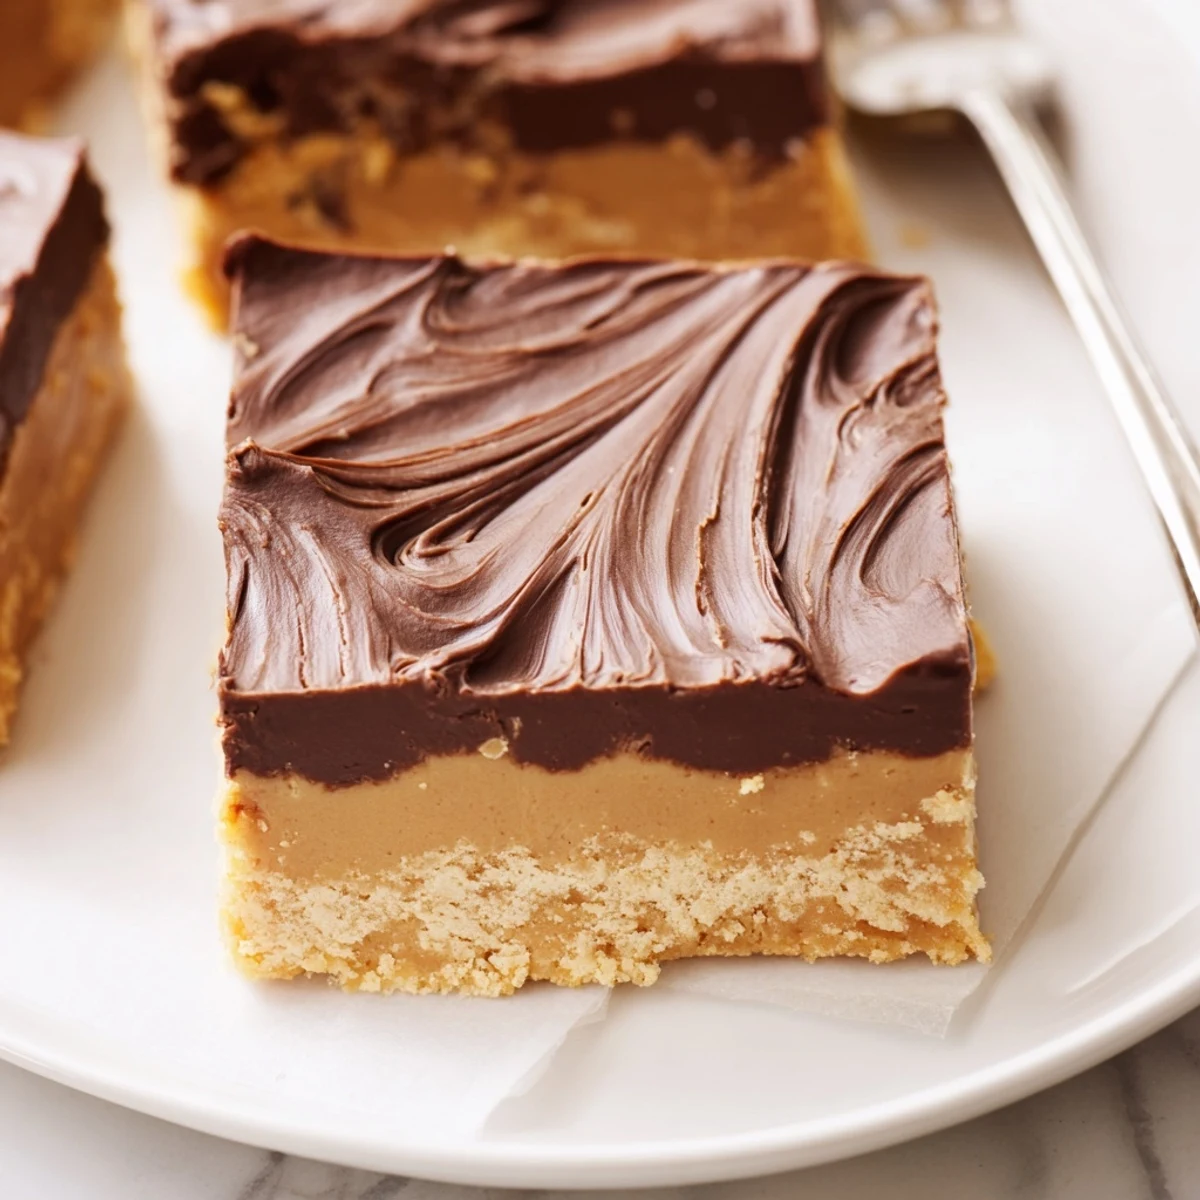
 I’ll never forget passing a tray of these at my niece’s birthday party—the kids went in for the chocolate glaze, but the adults were just as quick to sneak a second square when they thought nobody was looking. There’s something about chilled, homemade bars that always gets people talking and laughing.
Troubleshooting Sticky Situations
If your base sticks to the pan, double check your parchment paper coverage—overhang is your friend for a flawless lift. If the topping feels too thick to spread, microwave it just a bit more, stirring well to keep it silky. Don’t stress over slightly uneven layers; no one has ever complained once they taste a bite.
Allergy Switch-Ups and Gluten-Free Options
We’ve swapped in gluten-free cookies for graham crackers with tasty results—just blend them fine. If peanuts are out, almond or sunflower seed butter delivers a slightly different but equally addictive experience. Always read every ingredient label to steer clear of cross-contamination surprises.
Serving and Storing Tips
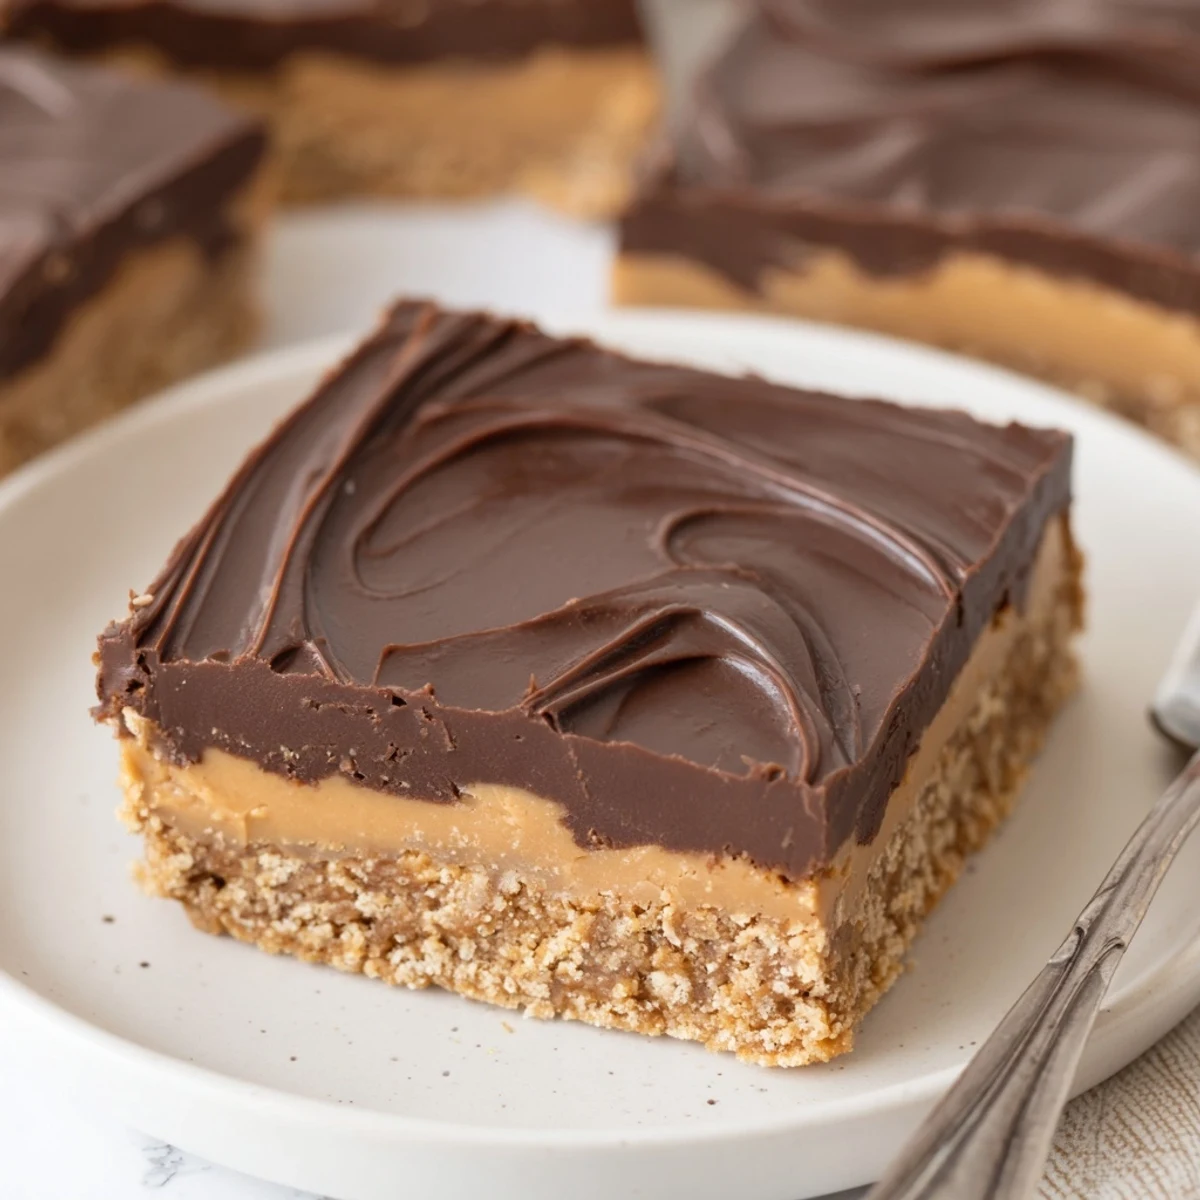
These bars are best eaten cold, right from the fridge, when the chocolate topping cracks just so with each bite. Stash leftovers in a tightly sealed container and they’ll stay fresh for up to a week, making weekday dessert a breeze. Expect the last one to disappear mysteriously fast.
- Cut the bars with a hot, clean knife for sharp edges.
- A sprinkle of chopped roasted peanuts adds crunch and flair.
- Store a secret extra bar in the back of the fridge for yourself.
 Pin It
 Homemade no bake peanut butter bars are proof that a joyful treat needs little more than a mixing bowl, a fridge, and a hungry crowd. Make a batch—you might just become the reason people linger in your kitchen a little longer.
Recipe Questions & Answers
- → Can I use crunchy peanut butter?
-
Yes — use chunky peanut butter or stir in chopped roasted peanuts for added crunch. That texture works well in the base and contrasts nicely with the smooth topping.
- → How can I melt the chocolate without a microwave?
-
Use a double boiler: simmer water in a saucepan, set a heatproof bowl over it, add chocolate chips and peanut butter, and stir until smooth. Remove from heat before spreading.
- → How long should I chill the bars?
-
Chill at least 2 hours so the base firms and the topping sets. Longer chilling tightens the texture and makes cleaner slices when cutting into bars.
- → Can I make these gluten-free?
-
Yes — swap graham cracker crumbs for gluten-free cookie crumbs or finely ground nuts. Adjust sweetness to taste if the substitute is less sweet than graham crumbs.
- → What’s the best way to cut neat bars?
-
Lift the set slab using the parchment overhang, chill until very firm, then use a sharp knife warmed under hot water and wiped dry. Slice in single steady strokes for clean edges.
- → How should I store leftovers?
-
Keep bars in an airtight container in the refrigerator for up to one week. Layer parchment between pieces to prevent sticking and return to chill before serving.