
 Pin It
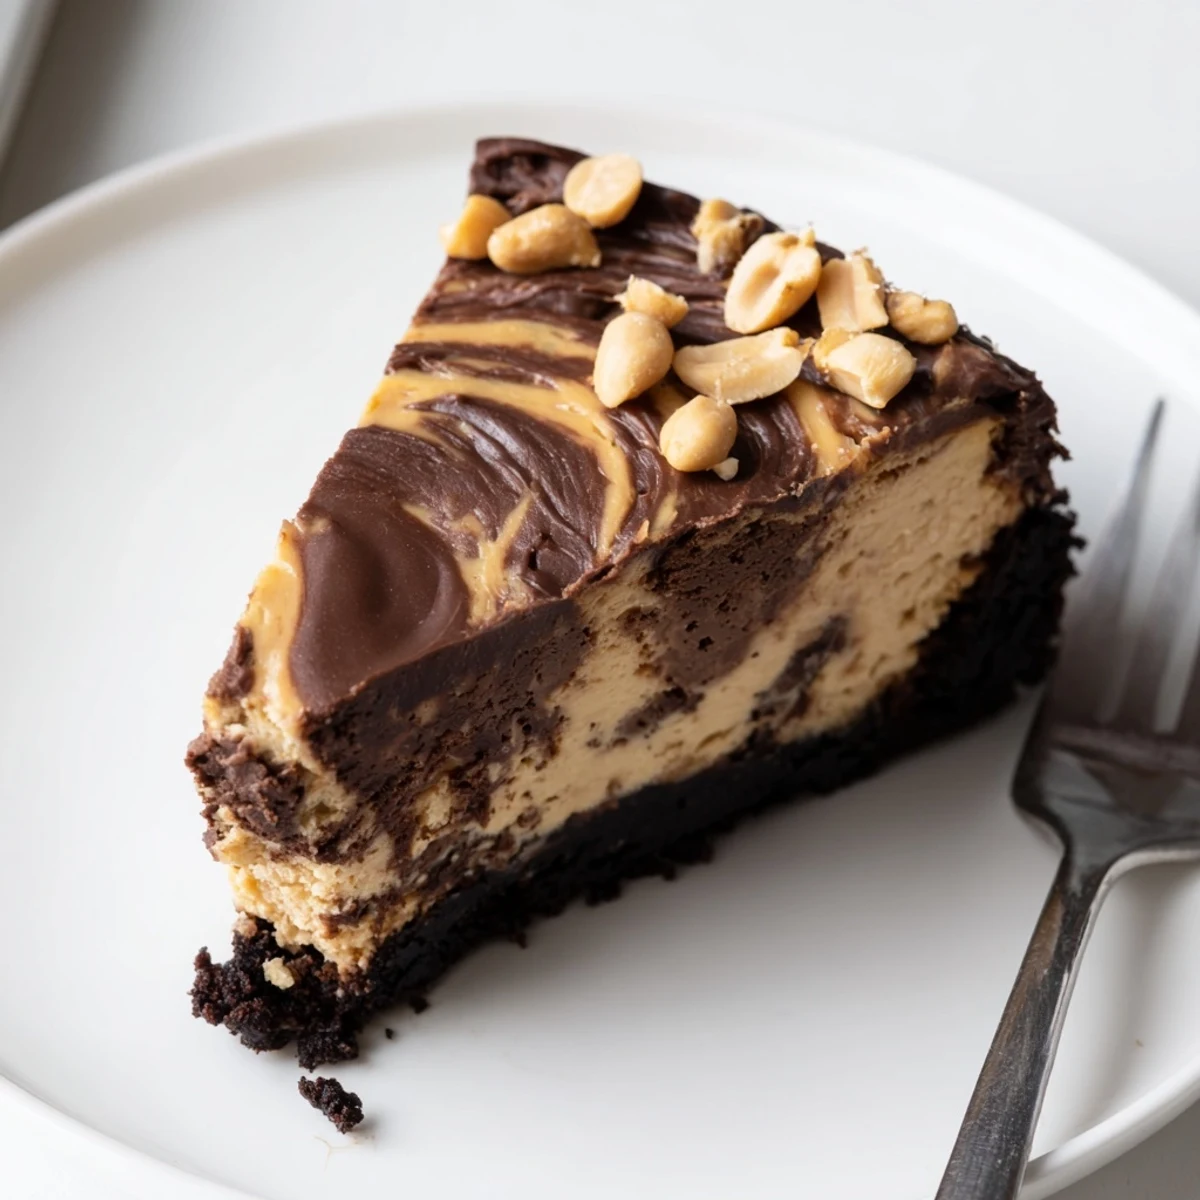
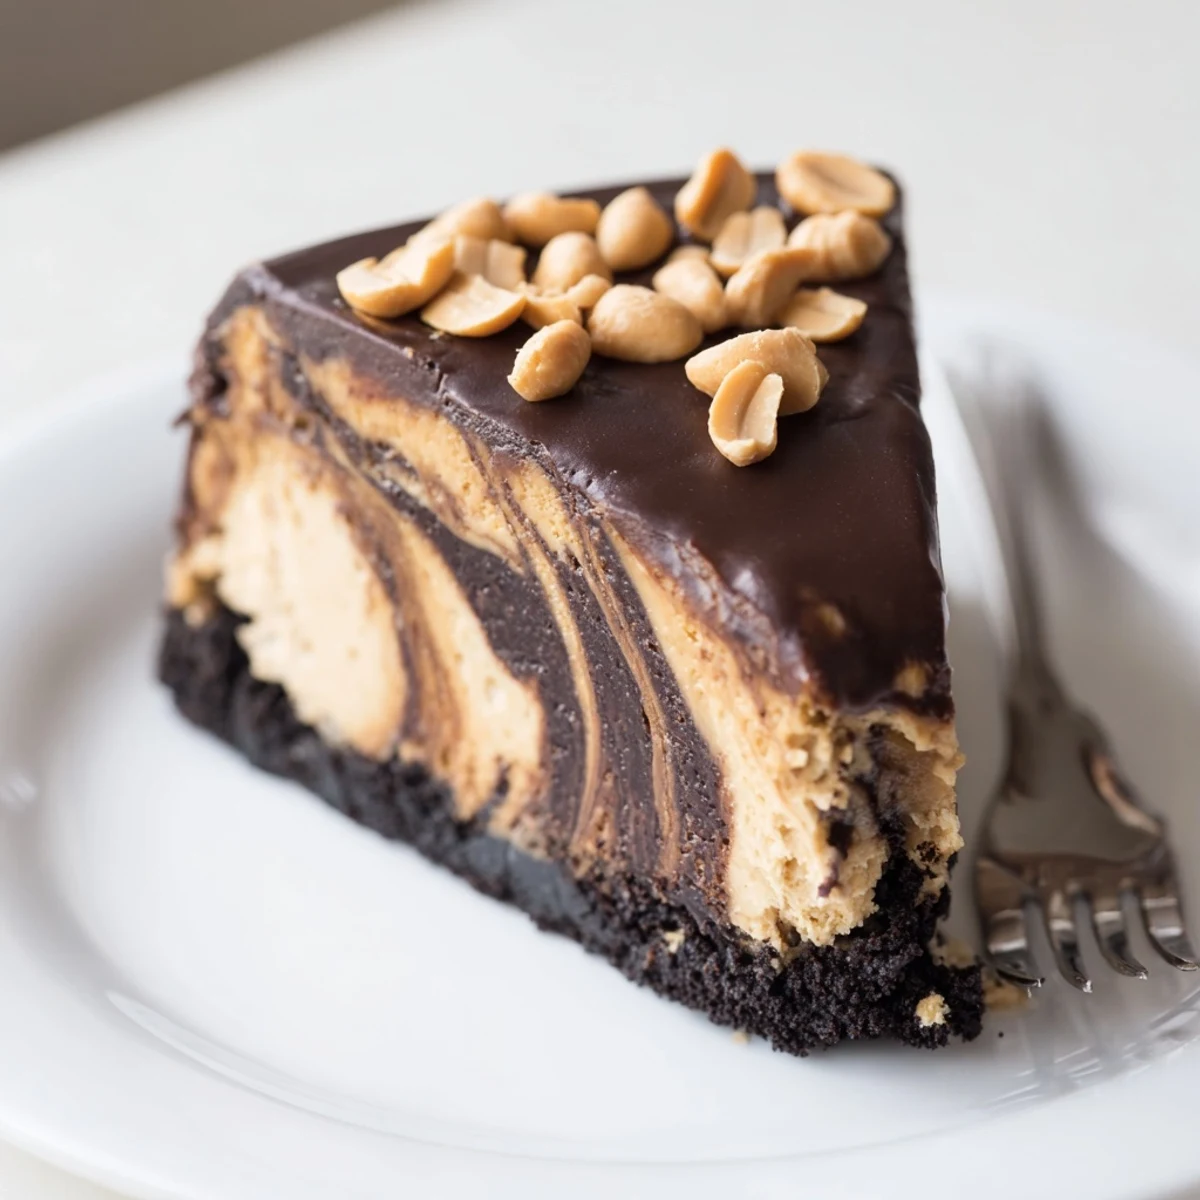
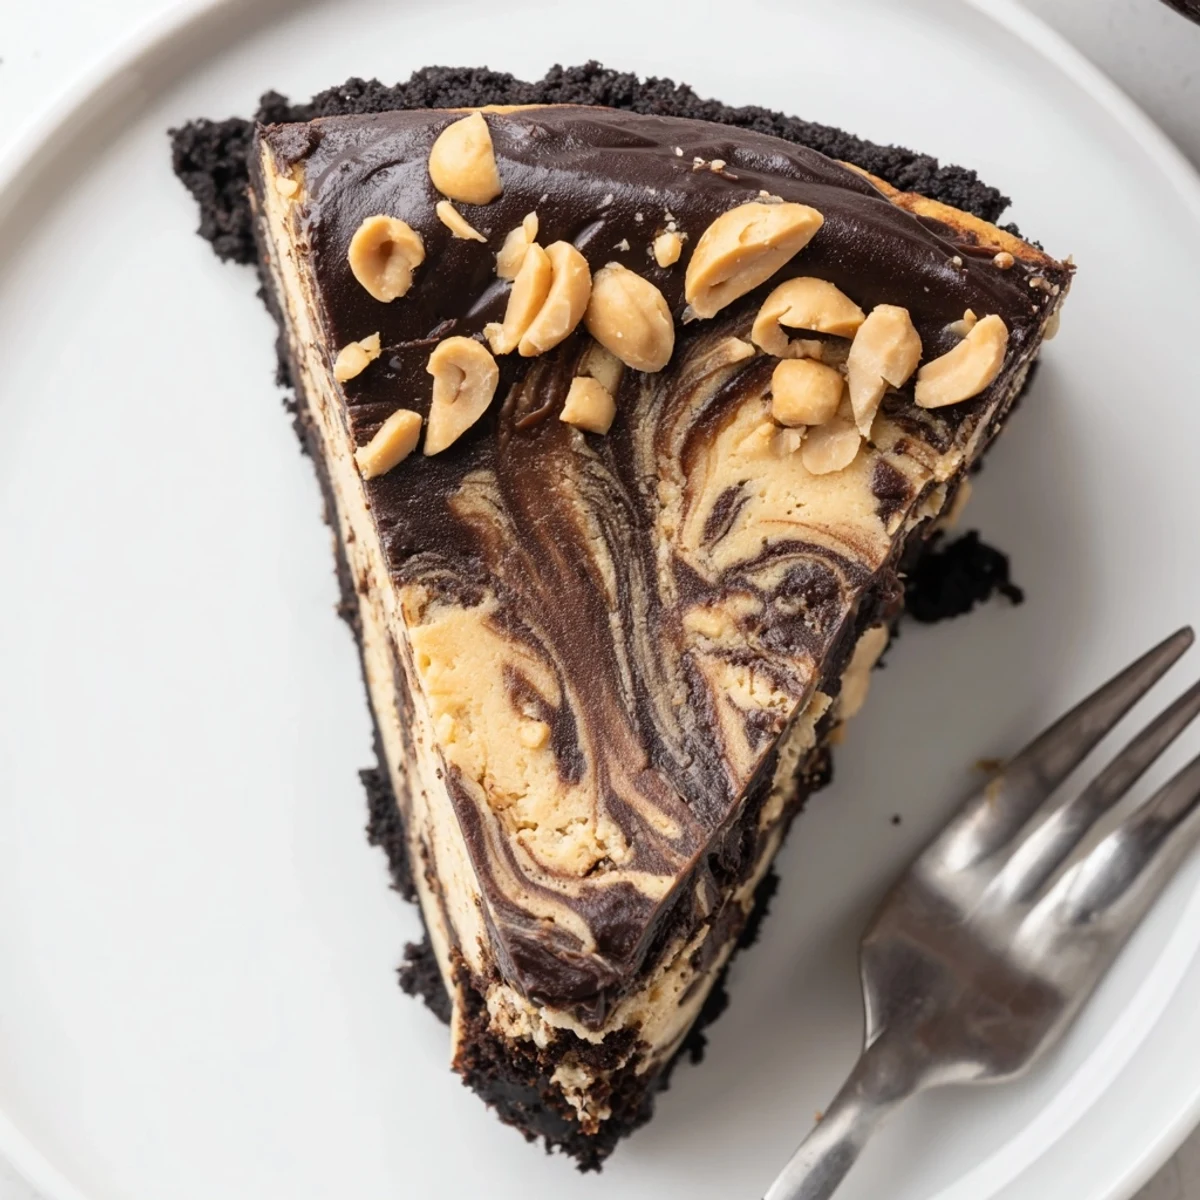
 This chocolate peanut butter cheesecake brings together two beloved flavors in one showstopping dessert. A buttery chocolate cookie crust forms the base, topped with a swirled filling of creamy peanut butter and rich dark chocolate cheesecake mixture.
After baking low and slow, the cheesecake chills overnight for the perfect set. A glossy chocolate peanut butter ganache finishes it off, garnished with crunchy roasted peanuts for texture.
Plan ahead for the chilling time — it's worth the wait. Each slice is dense, creamy, and packed with flavor.
The oven door had barely clicked shut when my sister walked in and declared she could already tell this was going to be the best thing Id ever baked. She was right, and honestly, I think she knew it before I did. Chocolate and peanut butter have that rare chemistry where neither flavor tries to outshine the other, they just melt together into something outrageously good. This cheesecake is the proof.
I made this for a friends birthday potluck and watched three people go back for seconds before anyone had even touched the cake. One of them cornered me later to ask if I sold desserts professionally, which is the nicest lie anyones ever told me in a kitchen.
Ingredients
- 200 g chocolate sandwich cookies, crushed: The crust needs that slight bitterness from the chocolate cookie to balance all the sweetness coming later.
- 60 g unsalted butter, melted: Just enough to bind the crumbs without making the base greasy.
- 600 g cream cheese, softened: Let it sit out for at least an hour, cold cream cheese is the number one cause of lumpy filling.
- 200 g smooth peanut butter: Use a commercial brand rather than natural stirred peanut butter, the stabilized texture blends more evenly into the batter.
- 200 g granulated sugar: This amount keeps the sweetness in check so the peanut butter and chocolate can actually taste like themselves.
- 3 large eggs: Room temperature eggs incorporate more smoothly and help the cheesecake puff gently without cracking.
- 1 tsp vanilla extract: A quiet background note that rounds out both the chocolate and peanut butter.
- 120 ml sour cream: Adds a subtle tang that keeps the richness from feeling heavy.
- 100 g dark chocolate, melted and slightly cooled: Use something around 60 percent cacao for deep flavor without bitterness taking over.
- 120 ml heavy cream: The base for a ganache that sets firm enough to stack in a fridge without smearing.
- 120 g dark chocolate, chopped: Chopping your own gives a smoother melt than chips, which contain stabilizers.
- 2 tbsp creamy peanut butter: Swirled into the ganache for a layered topping that echoes the filling.
- Chopped roasted peanuts, optional: A scattering of salt and crunch right at the end pulls everything together.
Instructions
- Set the stage:
- Preheat your oven to 160 degrees C (325 degrees F). Grease a 23 cm springform pan and line the bottom with parchment so the crust never sticks.
- Build the crust:
- Toss the crushed cookies with melted butter until the mixture feels like damp sand. Press it firmly and evenly across the base, then bake for 10 minutes until it smells toasted and set.
- Start the filling:
- Beat the softened cream cheese and sugar together until completely smooth, scraping the bowl once or twice so no stray lumps hide along the bottom edge.
- Add richness:
- Blend in the peanut butter until fully incorporated, then add the eggs one at a time on low speed, followed by the vanilla and sour cream.
- Split and flavor:
- Divide the batter evenly between two bowls. Fold the melted chocolate into one half, leaving the other half pure peanut butter.
- Create the marble:
- Pour the chocolate batter over the cooled crust and spread it flat. Drop spoonfuls of the peanut butter batter on top, then drag a knife through in lazy figure eights for a swirled effect.
- Bake low and slow:
- Bake for 50 to 60 minutes until the edges are set but the center still wobbles gently when you nudge the pan. That jiggle means creamy, not underbaked.
- Cool with patience:
- Turn off the oven, crack the door open, and let the cheesecake cool inside for one hour. This gradual cooling prevents cracks from forming across the top.
- Chill thoroughly:
- Transfer to the refrigerator for at least four hours or, ideally, overnight. A cold cheesecake slices cleanly and the flavors deepen dramatically.
- Make the topping:
- Heat the cream until it steams, pour it over the chopped chocolate, and stir until glossy. Stir in the peanut butter, let it cool slightly, then spread it over the chilled cheesecake.
- Finish and serve:
- Sprinkle chopped peanuts over the top if you want the extra crunch. Run a sharp knife under hot water between slices for the cleanest cuts you have ever seen.
 Pin It
 The moment I carried this to the table, the whole room went quiet in that specific way that only happens when people are genuinely excited about dessert. It was the kind of silence that makes you feel like you actually did something right.
Getting Ahead of the Schedule
This cheesecake is a planners dream because it needs to chill anyway, so you can bake it the night before and cross dessert off your list entirely. The topping firms up beautifully in the fridge and the slice quality is identical on day two, sometimes better.
Swapping for Dietary Needs
Gluten free chocolate cookies work perfectly for the crust, just check that they are crisp enough to hold together when crushed and moistened with butter. If you need a nut free version, sunflower seed butter can stand in for peanut butter, though the flavor will shift toward earthy rather than roasty.
Serving and Storing Right
Keep the cheesecake covered in the refrigerator for up to five days, though the texture is at its best within the first three. Let individual slices sit at room temperature for about ten minutes before eating so the filling softens to its proper creaminess.
- A thin metal spatula slides under slices more cleanly than a thick chef knife.
- Freeze individual slices wrapped tightly in plastic for up to one month.
- Always garnish right before serving so the peanuts stay crunchy.
 Pin It
 Every time I make this cheesecake, someone asks for the recipe, and I always tell them the same thing: the secret is patience, not skill. Let it chill, let it set, and let it speak for itself.
Recipe Questions & Answers
- → Can I make this cheesecake ahead of time?
-
Yes, this cheesecake actually benefits from being made a day in advance. The chilling time allows the flavors to develop and the texture to set properly. It will keep well in the refrigerator for up to 5 days covered tightly.
- → Why did my cheesecake crack on top?
-
Cracking usually happens from overmixing the batter, which incorporates too much air, or from sudden temperature changes. Baking at a low temperature and cooling the cheesecake slowly in the oven with the door cracked helps prevent this.
- → Can I use natural peanut butter instead of smooth?
-
Smooth, commercially processed peanut butter works best for this cheesecake because it blends seamlessly into the filling. Natural peanut butter can separate and create an uneven texture. If using natural, make sure to stir it very thoroughly before adding.
- → How do I get a clean slice when cutting the cheesecake?
-
Use a sharp knife dipped in hot water and wiped clean between each cut. This heats the blade just enough to glide through the dense filling without dragging, giving you neat, professional-looking slices.
- → Can I freeze this cheesecake?
-
Absolutely. Wrap individual slices or the whole cheesecake tightly in plastic wrap, then foil. Freeze for up to 2 months. Thaw overnight in the refrigerator before serving. The texture remains remarkably creamy after freezing.
- → What type of dark chocolate works best for the topping?
-
Use a good quality dark chocolate with 60-70% cocoa content. It provides a rich flavor that balances the sweetness of the cheesecake without being too bitter. Avoid chocolate chips as they contain stabilizers that prevent smooth melting.