
 Pin It
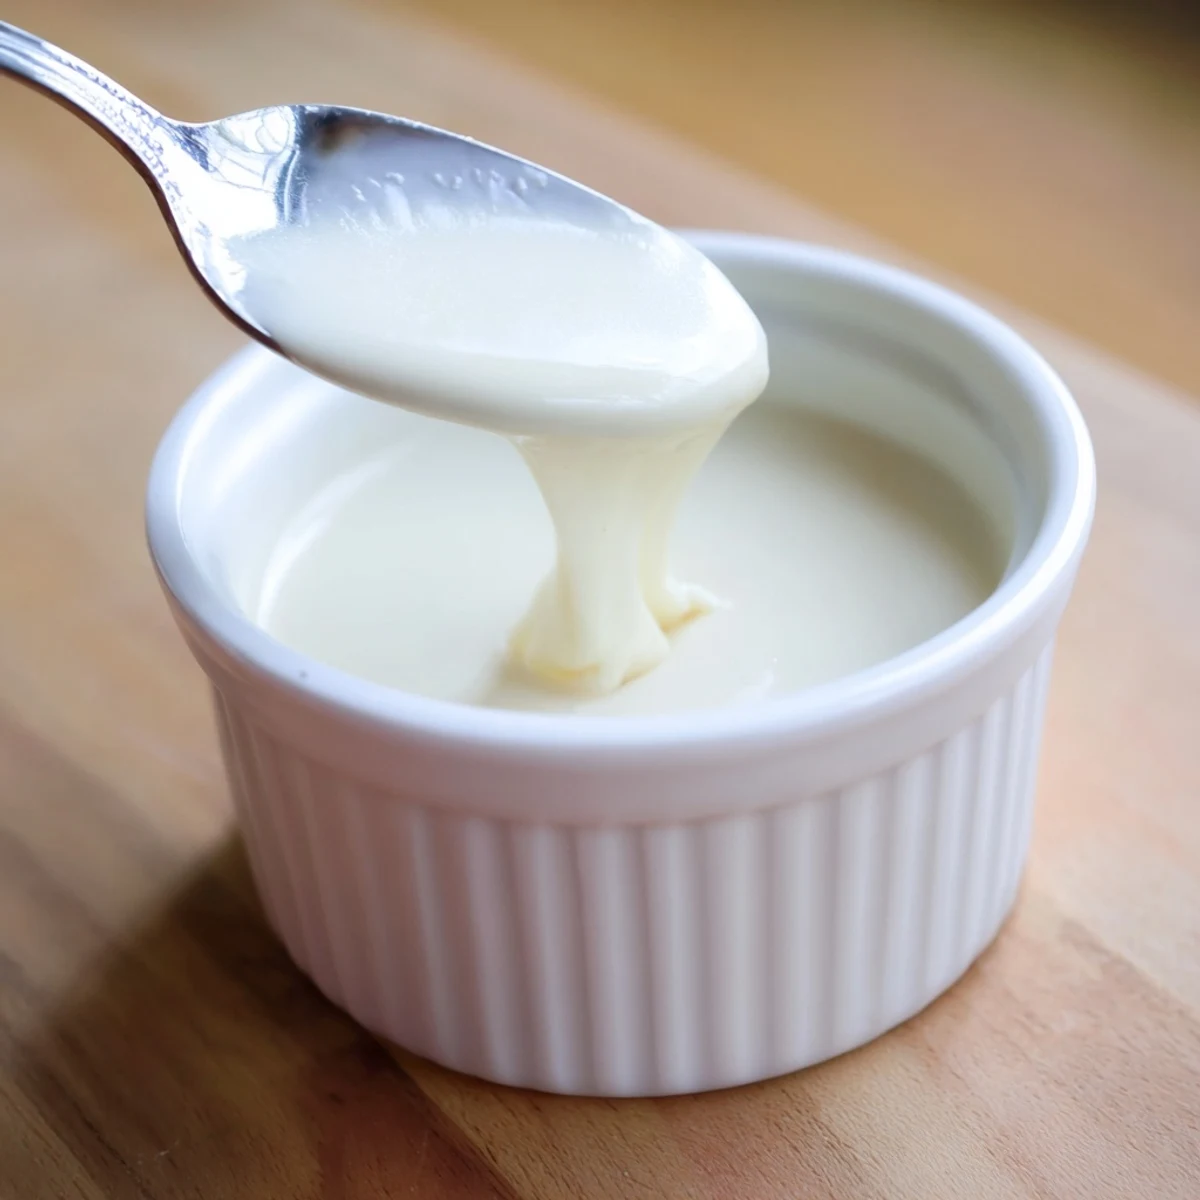
 This condensed coconut milk is a simple, dairy-free swap for the classic canned version. Simmer full-fat coconut milk with sugar and a pinch of salt until it reduces by half and turns glossy and thick.
Stir in a splash of vanilla at the end for extra warmth. The whole process takes about 40 minutes of mostly hands-off simmering.
Drizzle it over desserts, swirl it into coffee, or use it anywhere you'd normally reach for sweetened condensed milk. It keeps in the fridge for up to a week.
My coffee habit was getting expensive, and one particularly bleary Tuesday I decided I needed condensed milk for a homemade Vietnamese iced coffee without paying specialty shop prices. The vegan version seemed like a fun experiment, and forty minutes later I was drizzling silky, golden coconut caramel into my mug, wondering why I had never tried this before. Now I keep a jar in the fridge almost constantly. It takes barely any effort and tastes richer than anything from a can.
I brought a jar to my friends potluck brunch last spring and watched three grown adults fight over the last drizzle to put on their pancakes. One of them now texts me every few weeks asking if I have any spare jars. I always do.
Ingredients
- 1 can (400 ml) full fat coconut milk: Full fat is non negotiable here because the cream is what gives you that thick, velvety texture once everything reduces down.
- 1/2 cup (100 g) granulated sugar: White sugar keeps the color pale and clean, but coconut sugar works beautifully if you want a deeper, almost caramel note.
- 1 pinch of salt: Just a tiny pinch wakes up all the sweetness and keeps it from tasting flat.
- 1/2 tsp vanilla extract (optional): I almost always add it because the aroma fills your kitchen and makes the whole thing taste more like a treat than a pantry staple.
Instructions
- Pour and combine:
- Empty the entire can of coconut milk into a medium saucepan, then add the sugar and salt. Whisk gently so the cream and liquid blend together before the heat comes on.
- Dissolve and warm:
- Set the pan over medium heat and stir frequently until you can no longer feel any graininess at the bottom. The kitchen will start smelling like warm toasted coconut.
- Low and slow simmer:
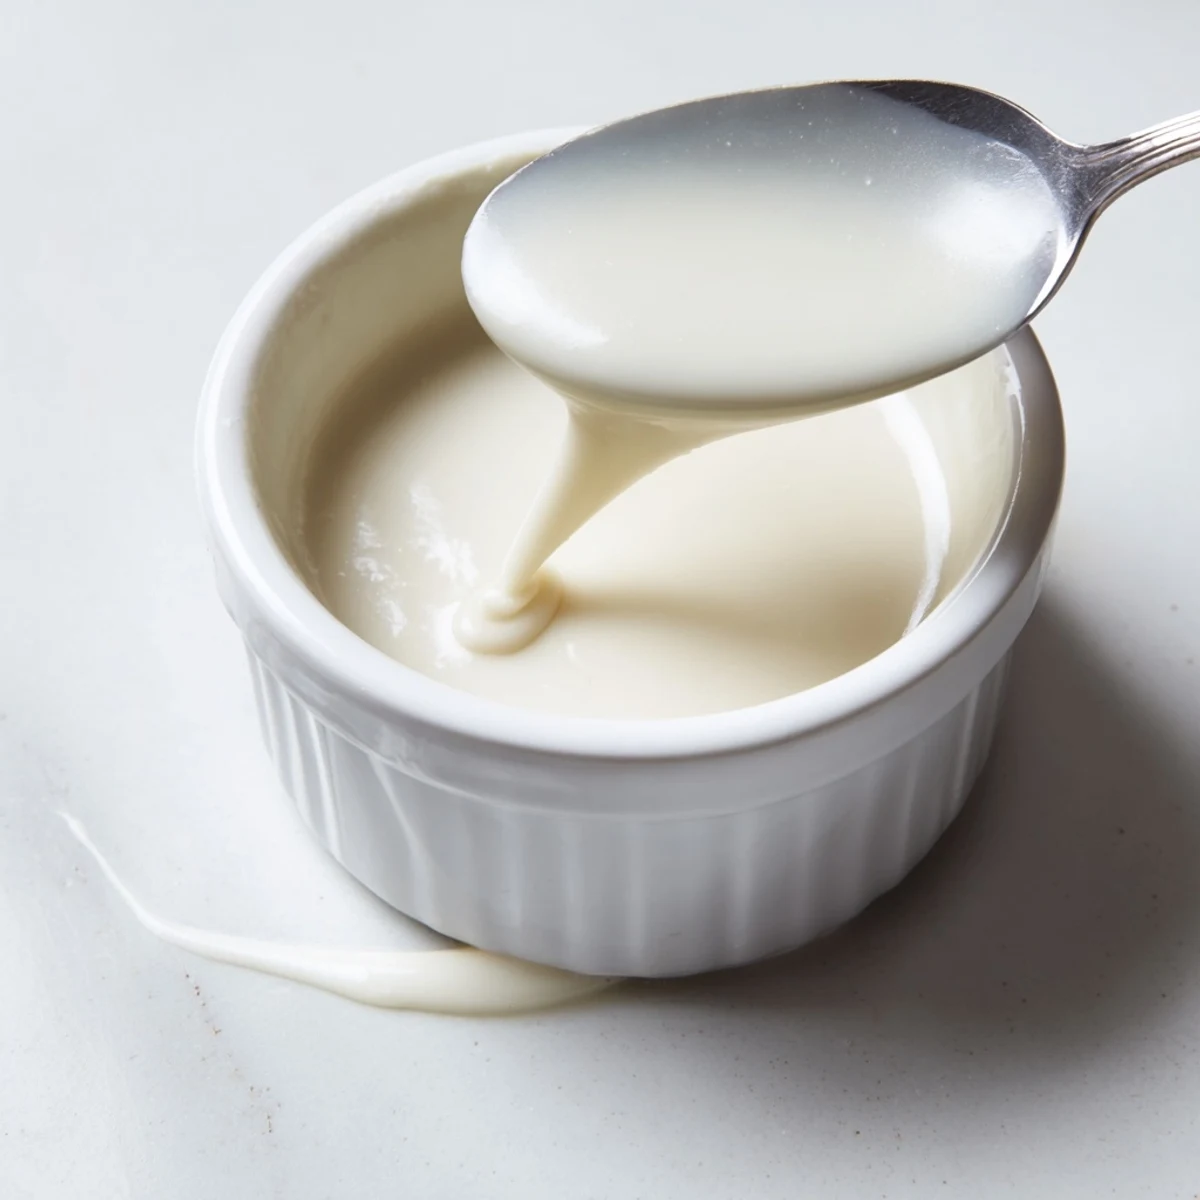
- Turn the heat down to low and let it bubble very gently for about 35 to 40 minutes, stirring every few minutes. You are watching for the mixture to shrink by roughly half and coat the back of a spoon.
- Finish with vanilla:
- Pull the saucepan off the heat and stir in the vanilla extract if you are using it. The steam will carry the most incredible fragrance through the room.
- Cool and store:
- Let it sit at room temperature until it no longer feels warm, then transfer it to an airtight container. It will thicken considerably as it chills in the refrigerator.
 Pin It
 The moment I realized this recipe had become a real staple was when my partner started adding it to their morning oatmeal without asking if any was left. Somehow a small jar of condensed coconut milk had quietly become the most fought over item in our refrigerator.
Getting The Right Thickness
Patience really is the secret here because the transformation happens slowly and then all at once in the last ten minutes. If you pull it too early it will be thin and watery, but if you wait just a bit longer it turns into that gorgeous drizzly consistency you want.
Swaps And Variations
Coconut sugar gives you a darker, richer result that tastes almost like dulce de leche and works brilliantly in brownies or over ice cream. A cinnamon stick simmered alongside the milk adds warmth without any extra effort on your part.
Storing Your Batch
Your condensed coconut milk will keep for about a week sealed tight in the refrigerator, though mine rarely lasts that long. Freeze small portions in ice cube trays if you want to have some on hand for unexpected dessert emergencies.
- Always label your jar with the date you made it so you know when the week is up.
- Gently reheat separated milk in a water bath rather than a microwave for the smoothest result.
- Remember that it thickens a lot as it cools so do not judge the consistency while it is still hot.
 Pin It
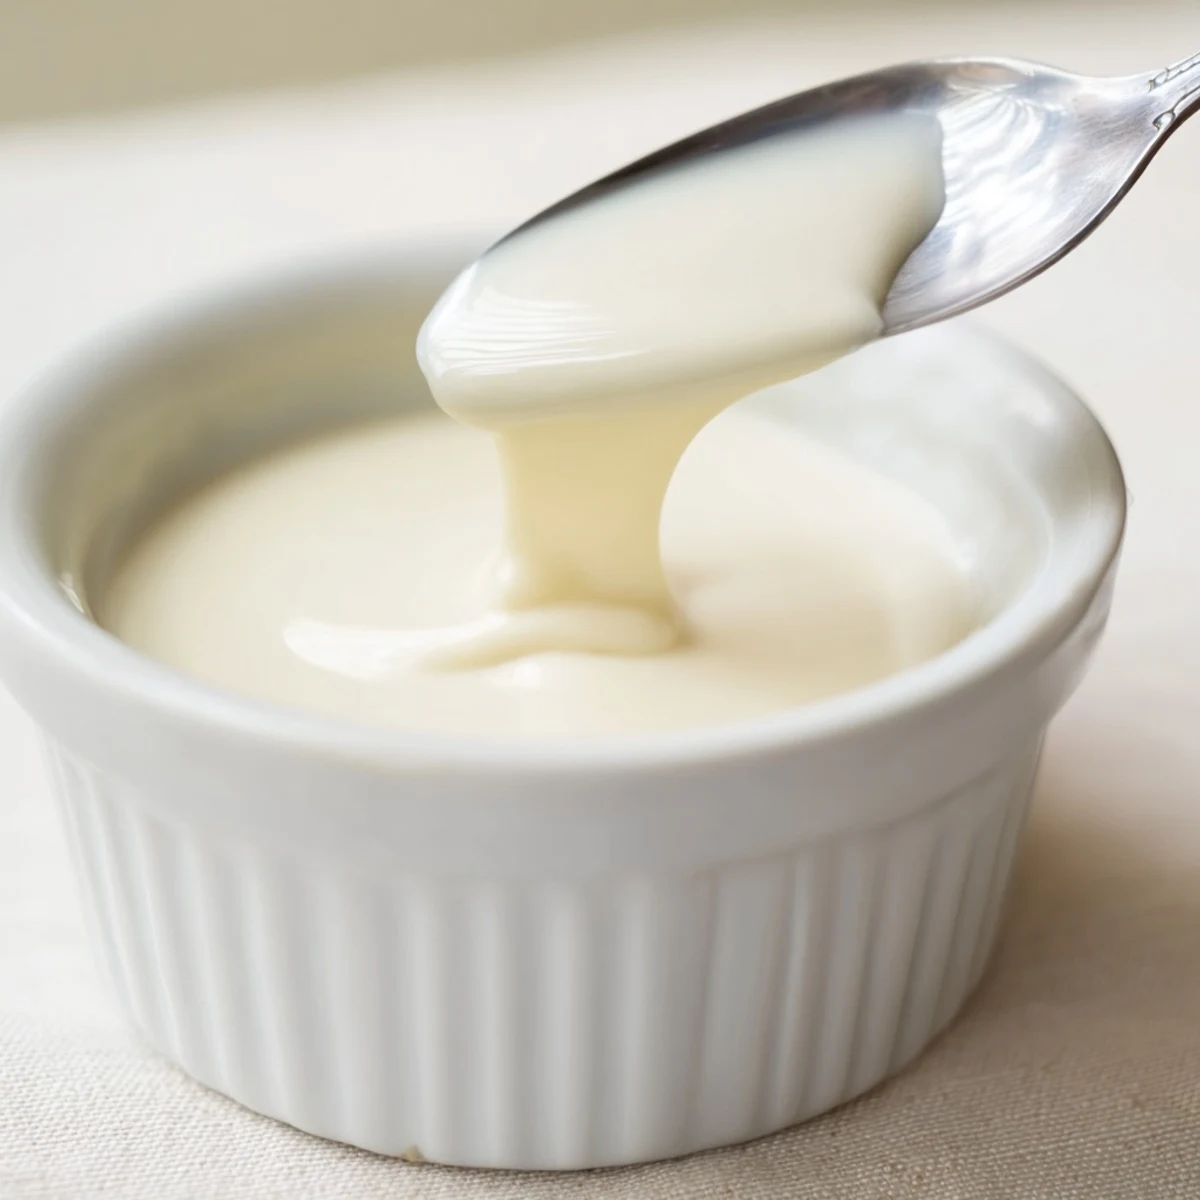
 A little jar of homemade condensed coconut milk is one of those small things that makes everyday food feel special. Keep one in your fridge and you will find yourself looking for excuses to use it.
Recipe Questions & Answers
- → Can I use light coconut milk instead of full-fat?
-
Full-fat coconut milk is strongly recommended here. Light versions contain less fat and more water, so the mixture won't thicken properly or achieve that rich, velvety consistency you want.
- → Why is my condensed coconut milk not thickening?
-
Patience is key. The mixture needs a gentle, low simmer—not a rolling boil—for 35 to 40 minutes. If the heat is too high, it may scorch. If it's too low, evaporation won't happen fast enough. It also thickens significantly as it cools.
- → Can I use a different sweetener besides granulated sugar?
-
Yes. Coconut sugar works beautifully and adds a deeper, caramel-like flavor. Maple syrup or agave can also be used, though the flavor and thickness may vary slightly. Adjust quantities to taste.
- → How should I store leftover condensed coconut milk?
-
Transfer it to an airtight container and refrigerate for up to one week. It may separate or firm up when cold—just stir it well or warm it gently to bring it back to a smooth, pourable consistency.
- → Is condensed coconut milk safe for people with nut allergies?
-
Coconut is classified as a tree nut by the FDA, though most people with tree nut allergies can safely eat coconut. However, some individuals do react to it. Always consult a doctor and check labels for cross-contamination warnings.
- → Can I freeze condensed coconut milk?
-
Yes, you can freeze it in a sealed container for up to 3 months. Thaw it in the refrigerator overnight and stir well before using, as the texture may change slightly after freezing.