
 Pin It
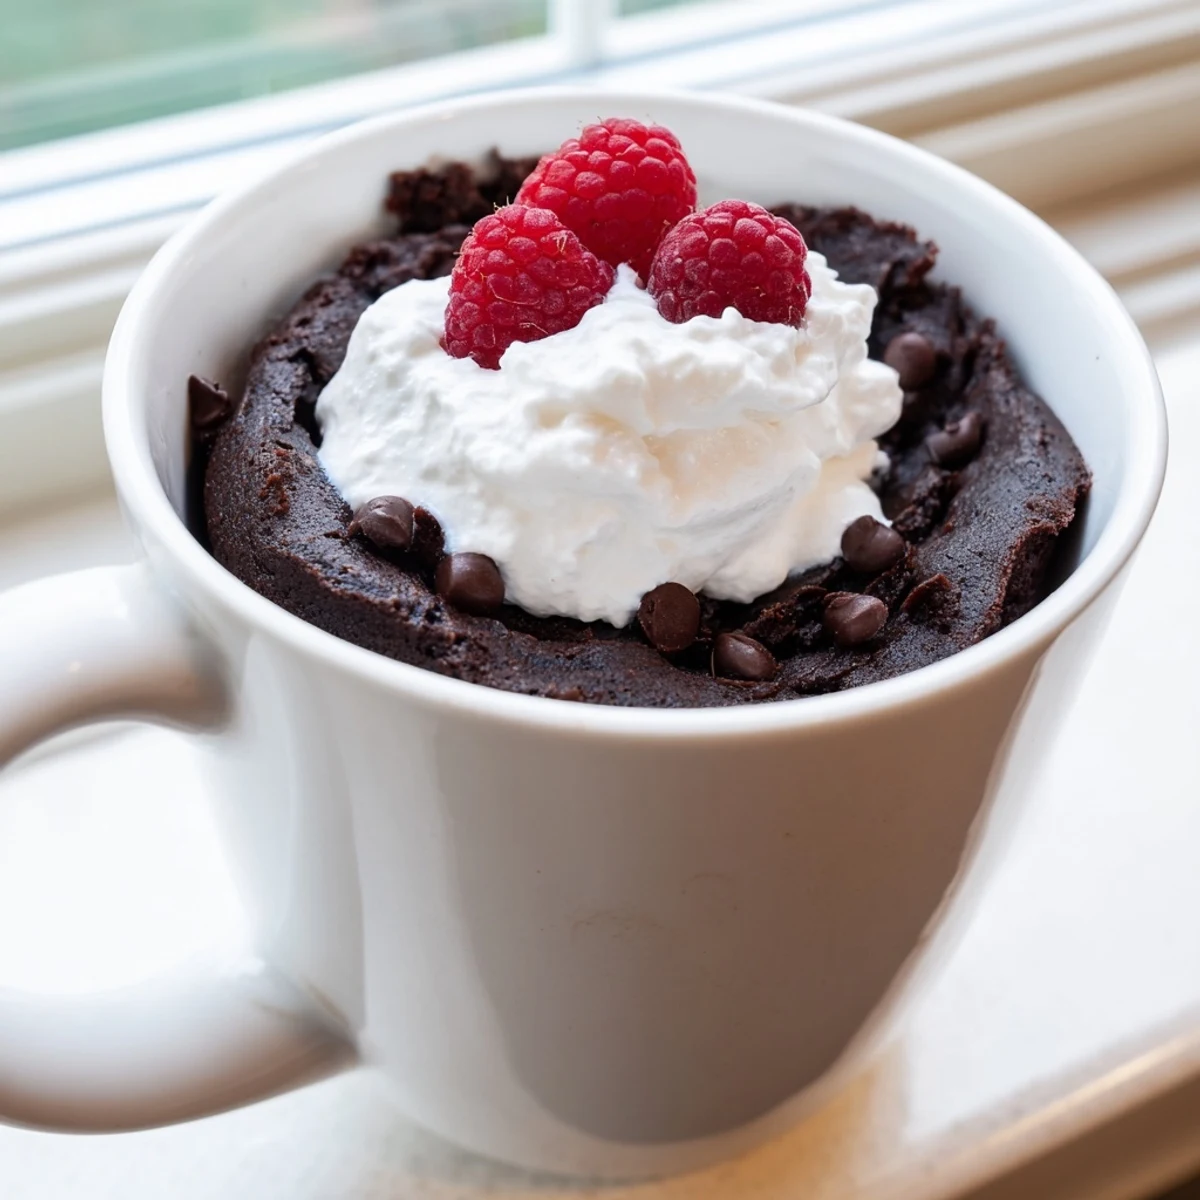
 This gluten-free chocolate mug cake is the ultimate quick-fix dessert for when cravings hit hard. Made with a simple blend of gluten-free flour, cocoa powder, sugar, and a few wet ingredients, it comes together in one mug and cooks in the microwave in under 2 minutes.
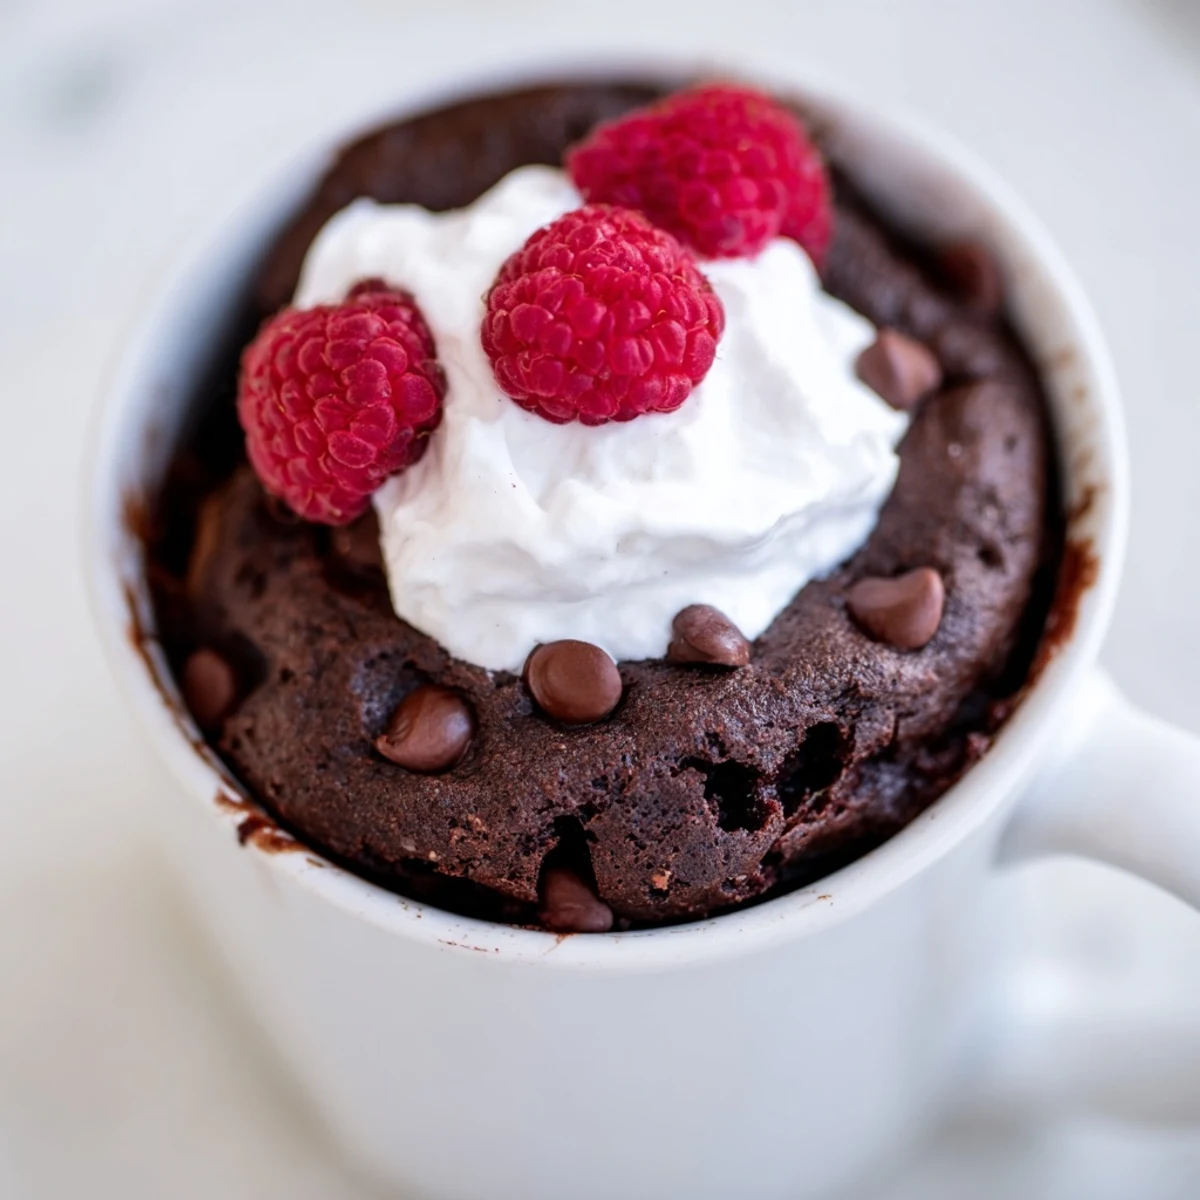
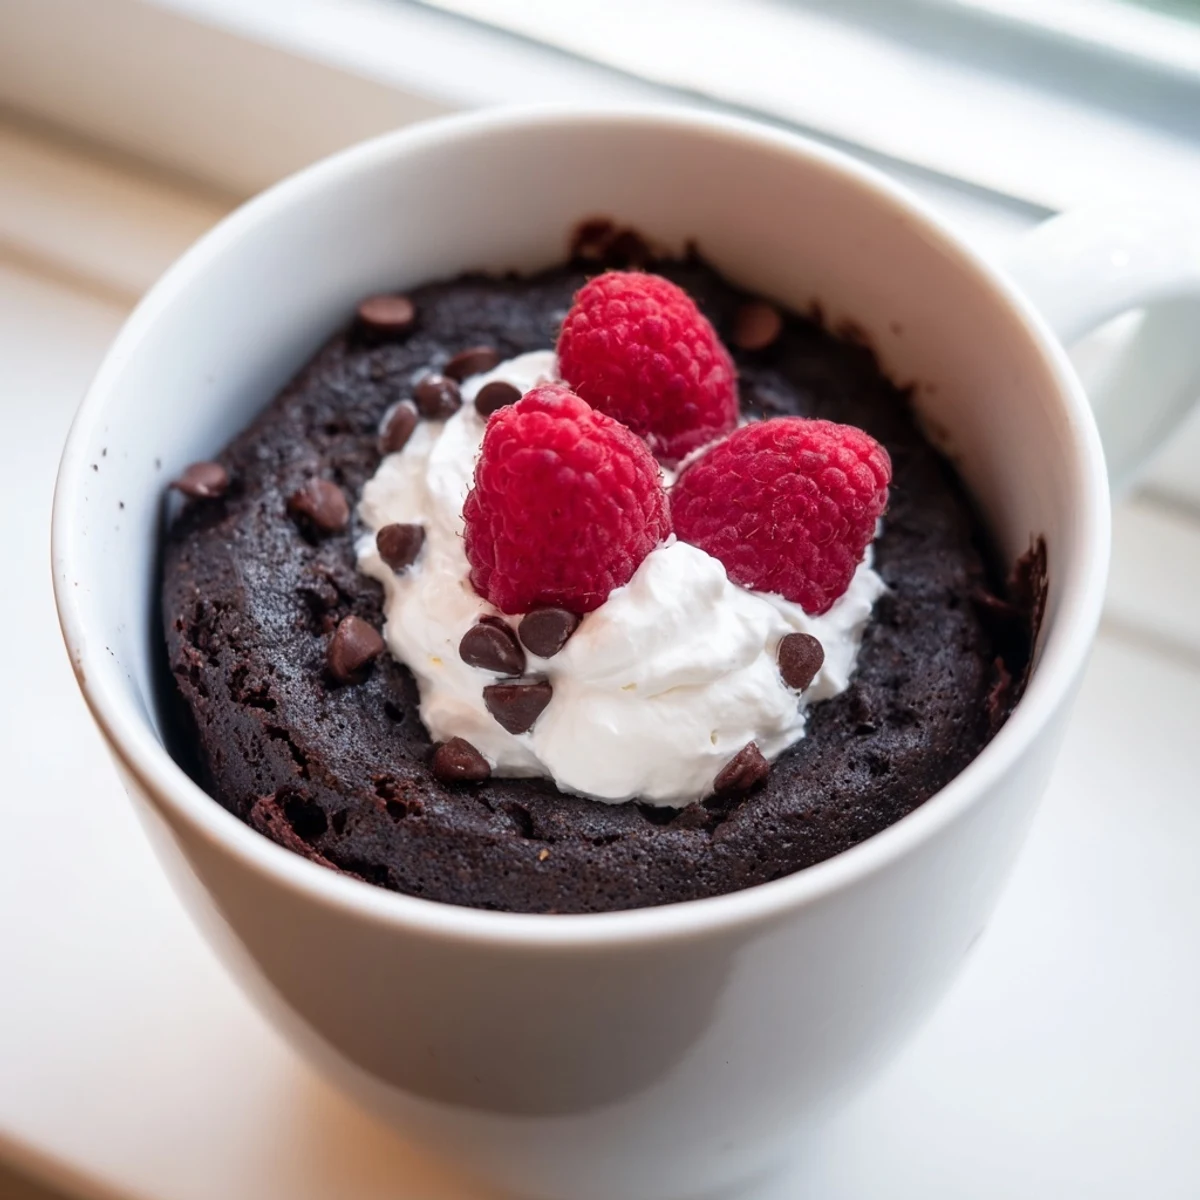
The batter yields a moist, tender crumb with deep chocolate flavor. You can customize it with chocolate chips for extra richness or top it with whipped cream and fresh berries for a more finished presentation.
It's naturally vegetarian and easily adapted to be dairy-free by swapping in your preferred plant-based milk. Perfect for a solo treat any night of the week.
There is something almost rebellious about making a chocolate cake at eleven at night with nothing but a mug and a microwave, yet here we are, and honestly it might be the best decision you make all day. This gluten free chocolate mug cake started as a desperate experiment during a rainy Tuesday when the pantry offered nothing but basics and stubbornness. Three minutes later I was eating the richest, fudgiest little cake I had ever pulled from a microwave, and I have never looked back.
I made this for my neighbor once when she stopped by unexpectedly and looked like she had survived the longest Monday in history, and she sat at my counter eating it straight from the mug without saying a word for two solid minutes, which I took as the highest compliment possible.
Ingredients
- Gluten free all purpose flour blend (3 tablespoons): This is the backbone of the cake, and a good blend with xanthan gum already included saves you from dense or crumbly results.
- Unsweetened cocoa powder (2 tablespoons): Use a quality brand you would drink in hot chocolate, because the cocoa flavor carries the entire dessert.
- Granulated sugar (3 tablespoons): This may seem like a lot for a small cake, but sugar does more than sweeten here, it keeps the crumb tender and helps form a slightly crisp edge.
- Baking powder (1/4 teaspoon): Just enough lift to keep it from turning into a hockey puck, and make sure it is fresh and certified gluten free.
- Salt (pinch): Salt wakes up every note of chocolate and without it the cake tastes flat, so do not skip this even though it seems tiny.
- Milk, dairy or non dairy (3 tablespoons): Any milk works here, and I have used almond, oat, and regular whole milk all with equally happy results.
- Neutral oil (2 tablespoons): Oil keeps the cake softer than butter would in a microwave environment, and canola or light olive oil both disappear into the chocolate flavor completely.
- Pure vanilla extract (1/4 teaspoon): A tiny splash rounds out the chocolate and makes everything taste more like actual baking rather than a shortcut.
- Chocolate chips (1 tablespoon, optional): These melt into little pools inside the cake and take it from good to absolutely unnecessary in the best way.
- Whipped cream or berries for serving (optional): A dollop of whipped cream or a few fresh berries on top makes this feel like a real dessert rather than a late night impulse.
Instructions
- Build your dry base:
- In a microwave safe mug of at least 12 ounces, whisk together the gluten free flour, cocoa powder, sugar, baking powder, and salt until the mixture looks evenly dark and no pale streaks remain, because uneven cocoa pockets taste bitter.
- Add the wet ingredients:
- Pour in the milk, oil, and vanilla extract, then stir vigorously with a spoon or small whisk until you have a smooth, lump free batter that looks like a thick chocolate shake.
- Sneak in extras:
- Fold in chocolate chips if you are using them, and try to push a few down into the center so they create a molten surprise rather than just sitting on top.
- Microwave with attention:
- Cook on high for 1 minute and 30 seconds to 2 minutes, watching closely through the glass, and stop when the cake looks set on top and springs back lightly when you touch it with your finger.
- Rest briefly before devouring:
- Let it cool for 1 to 2 minutes because the mug will be dangerously hot and the cake needs that time to finish setting into its final fudgy texture.
 Pin It
 One evening my niece called me on video chat while I was eating this, and she spent ten minutes interrogating me about what I was making before demanding I walk her through it step by step so she could make one herself right then.
What If You Do Not Have Gluten Free Flour
If you only have almond flour on hand, you can substitute it at the same amount, though the cake will be slightly denser and more truffle like, which some people actually prefer.
Making It Completely Dairy Free
Swap the milk for oat or almond milk, use dairy free chocolate chips, and check your baking powder label to confirm it contains no dairy derivatives, which is easier to overlook than you might think.
Storing and Reheating Suggestions
This is very much a make and eat immediately situation, but if you somehow have leftover cake, cover the mug and store it at room temperature for up to one day, then give it a quick 15 second zap in the microwave to soften it back up.
- Do not refrigerate leftover mug cake because it firms up into a sad brick that no amount of reheating can fully rescue.
- If you want to prep ahead, mix the dry ingredients in the mug and cover it, then add wet ingredients when you are ready to cook.
- Always use a mug larger than you think you need because the cake rises aggressively for about 30 seconds before settling back down.
 Pin It
 Keep this recipe bookmarked for those nights when only chocolate will do, because having a warm personal cake seven minutes from now is a small luxury everyone deserves.
Recipe Questions & Answers
- → Can I make this mug cake dairy-free?
-
Yes, simply substitute the milk with almond, soy, or oat milk and use dairy-free chocolate chips. The texture and flavor remain excellent with plant-based alternatives.
- → Why did my mug cake turn out rubbery?
-
Overcooking is the most common cause. Microwaves vary in power, so start with 1 minute 30 seconds and check for doneness. The cake should still look slightly moist on top when done and will continue to set as it cools.
- → What size mug should I use?
-
Use a microwave-safe mug that holds at least 12 ounces. This gives the batter enough room to rise without overflowing during cooking.
- → Can I mix the dry ingredients ahead of time?
-
Absolutely. You can pre-measure the dry ingredients and store them in a small airtight container or zip-top bag. When ready, just add the wet ingredients, stir, and microwave for an almost instant dessert.
- → How do I know when the mug cake is fully cooked?
-
Gently press the top of the cake — it should spring back slightly and feel set, not liquid. A few moist crumbs are fine, but if wet batter clings to your finger, microwave in 15-second intervals until done.
- → Can I add a gooey center to this mug cake?
-
Yes. Press a small piece of chocolate or a spoonful of nut butter into the center of the batter before microwaving. As the cake cooks, the center will melt into a delicious molten pocket.