 Pin It
 Start with room-temperature egg whites and cream of tartar, whipping until soft peaks before adding sugar slowly until stiff, glossy peaks form. Stir in vanilla, paint red and blue stripes inside a piping bag, then fill and pipe 1–1.5-inch kisses. Dry low at 200°F (90°C) for about 75 minutes, cool inside the oven to set, and store airtight up to five days.
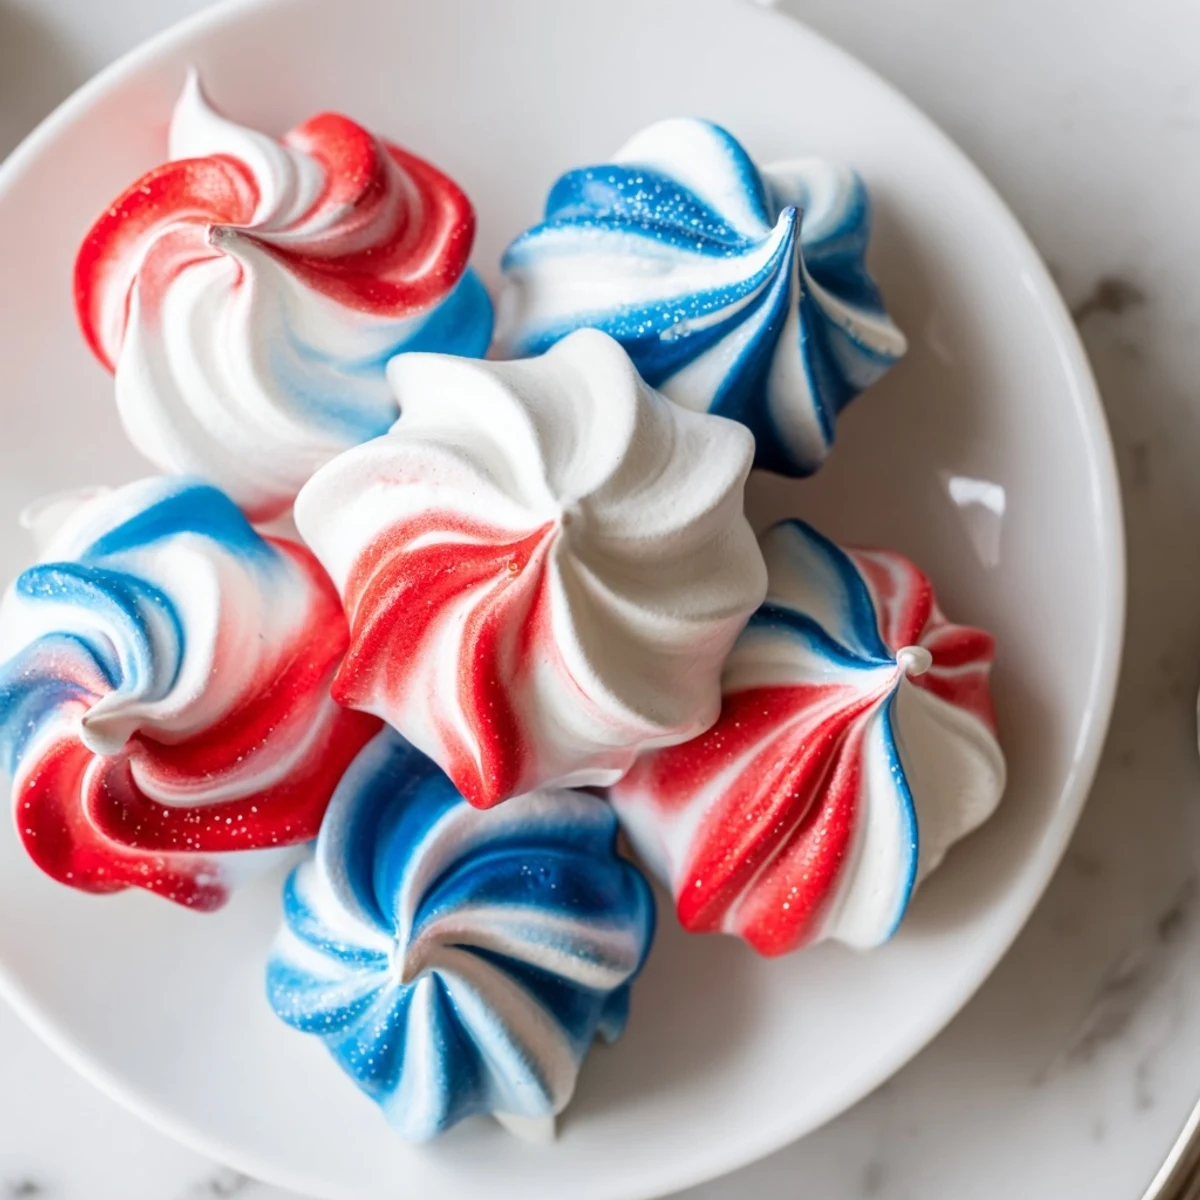
It was the hum of the electric mixer that filled my kitchen one summer morning, echoing the excitement of an upcoming Fourth of July barbecue. As the egg whites turned snowy white in the bowl, my son leaned over the counter, his nose wrinkling with curiosity about what 'magic' we were making. Meringue kisses, swirled in bold colors, always hint at celebration before you even take a bite. Their crisp shells and airy crunch never fail to spark smiles.
The first time I brought these color-swirled meringue kisses to our neighborhood picnic, I watched as the tray dwindled faster than the fireworks could start. Someone asked if they were store-bought, and it secretly delighted me to reply, No, just a happy experiment with food coloring and a very messy piping bag.
Ingredients
- Egg whites: Room temperature whites whip higher and steadier—never rush this step or you’ll miss those glossy peaks.
- Granulated sugar: Add it slowly for impossibly crisp, shiny meringues that don’t collapse.
- Cream of tartar: Just a pinch builds structure in the meringue, making them foolproof even on humid days.
- Salt: Just enough to balance the sweetness and let the vanilla shine.
- Vanilla extract: A splash infuses real warmth into each bite—you can swap in almond extract for a twist if you like.
- Red gel food coloring: Gel colors keep the meringue texture smooth and bold without thinning it out.
- Blue gel food coloring: Vibrant, patriotic, and perfect for those picture-ready swirls—just use a clean brush for striking lines.
Instructions
- Preheat and prep:
- Set oven to 200°F (90°C) and line baking sheets with parchment—there’s no such thing as over-preparing here.
- Whip the whites:
- Combine egg whites and cream of tartar in a spotless bowl, then beat until they look like soft clouds.
- Sweeten slowly:
- Add sugar bit by bit, letting the mixer run until the mixture stands tall and glistening, almost marshmallow-y.
- Add the flavor:
- Blend in salt and vanilla just until the aroma floats up—no overmixing.
- Stripe the piping bag:
- Brush your chosen food coloring inside the piping bag—red, blue, and a plain streak—then admire the tricolor stripes before filling it.
- Fill and pipe:
- Spoon the airy meringue carefully so the colors don’t muddy, then pipe out cheerful little kisses, leaving space for them to bake up crispy.
- Bake and rest:
- Let them dry out in the oven for 1 hour 15 minutes, then give them an hour more in the oven, door closed, for foolproof crunch.
- Cool and store:
- Carefully peel off the cooled kisses—they should lift right off and snap delicately—then store airtight for sweet success all week.
 Pin It
 These ruby and sapphire striped kisses were a talking point at my friend’s rooftop gathering—every hand reached for ‘just one more’ but no one could resist the second and third. Watching a plate go from overflowing to empty in minutes, and hearing someone giggle at their blue-tinted tongue, is a memory I’ll always cherish.
Making Your Colors Pop
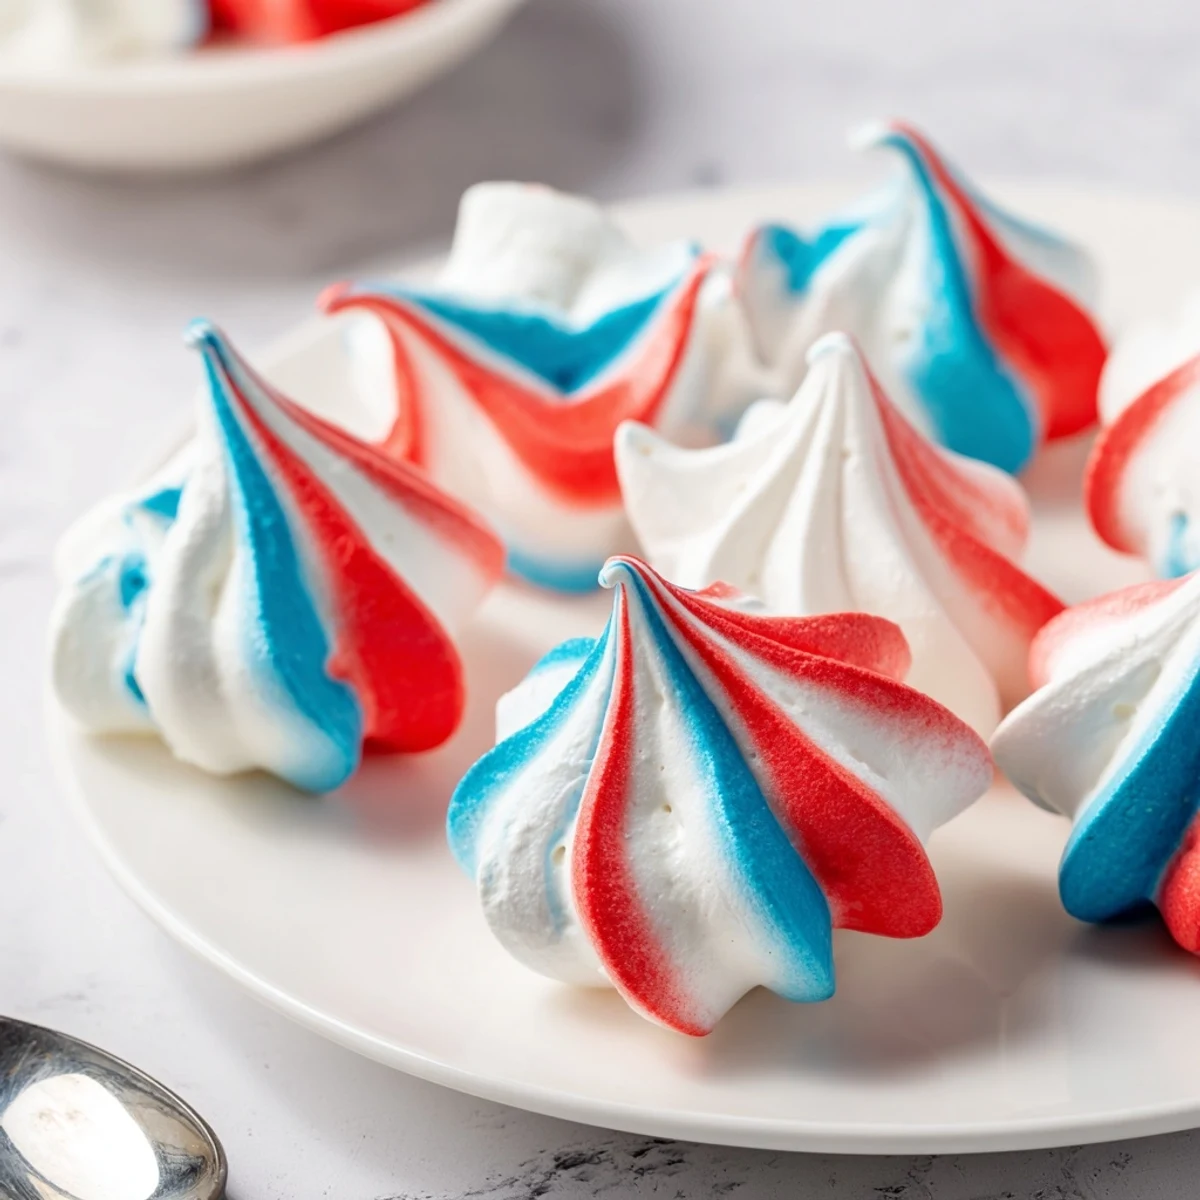
I quickly learned that a heavier hand with gel food coloring amps up the vibrancy, so don’t hold back if you want a dramatic look. Use a food-safe brush or even a toothpick to get those sharp streaks right against the side of the piping bag without blending them into the meringue itself. The reveal when you pipe—seeing the ribbons emerge—is oddly satisfying every time.
Troubleshooting Texture
If the kisses turn sticky instead of crisp, the culprit is almost always humidity, which is easy to miss on busy baking days. Letting them cool inside the oven (door closed) helps wick away that remaining moisture, and if needed, you can even give them a few extra minutes of baking for insurance. Trust your finger: a perfectly baked meringue feels light and dry, almost hollow.
Serving and Storing for Festivities
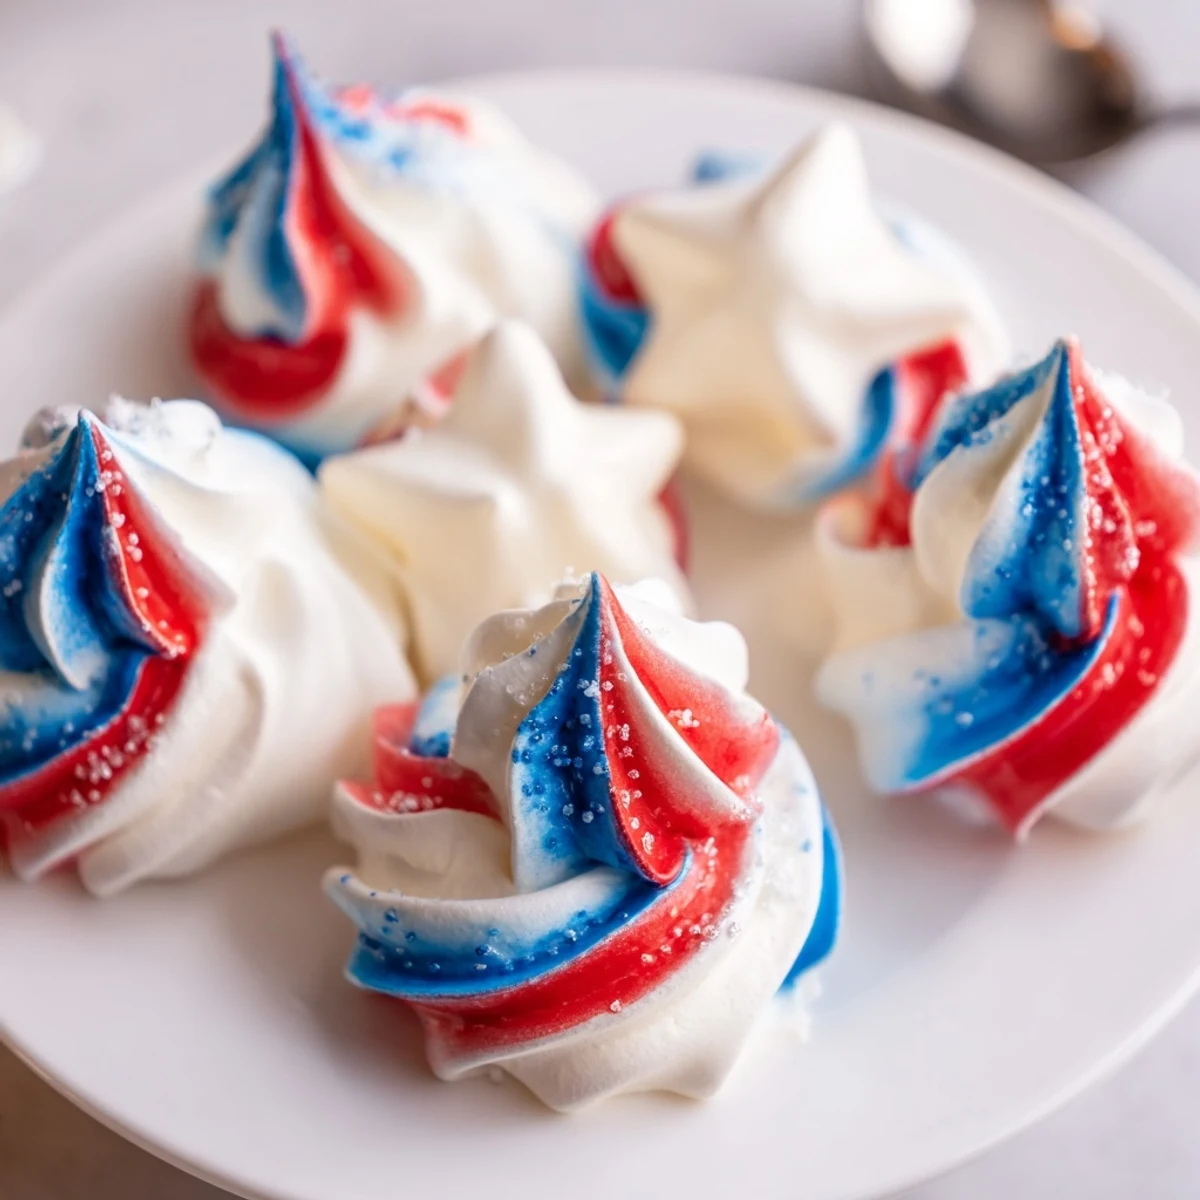
I love how these meringue kisses make easy gifts—tuck them in a glass jar, tie with ribbon, or pile them high on a platter for an instant centerpiece. They keep their crunch for days if stored airtight, so you can get a jump on party prep. Adapt the colors for any theme—the possibilities are as bright as your imagination.
- Handle them gently to avoid cracks—they’re delicate by nature.
- If the weather’s humid, add silica packs in the container to keep them crisp.
- Watch for overbaking, or the colors may fade slightly; trust the timing.
 Pin It
 Whether for a celebration or just for fun, these cheerful bites have a way of elevating any gathering. Enjoy making them as much as everyone loves eating them!
Recipe Questions & Answers
- → How do I achieve stiff, glossy peaks?
-
Use room-temperature egg whites and a clean, grease-free bowl. Start on medium speed until soft peaks, then add sugar tablespoon by tablespoon while beating on high until stiff, glossy peaks form. Avoid any yolk contamination and patience with gradual sugar incorporation ensures shine and structure.
- → Why bake meringues at a low temperature for a long time?
-
Low, slow drying removes moisture without browning, producing a crisp exterior and hollow interior. The gentle heat dries the meringues evenly; turning the oven off and letting them cool inside finishes the setting and prevents cracking from sudden temperature change.
- → What's the best way to create the red, white, and blue stripes inside the piping bag?
-
Use gel food coloring brushed in three parallel stripes down the inside of the bag with a food-safe brush. Gel pigments give vivid color without thinning the meringue. Fill the bag gently to keep the stripes intact, then pipe immediately for clean, multicolored kisses.
- → How should I store the finished meringue kisses?
-
Keep them in an airtight container at room temperature away from humidity. Properly dried and stored meringues stay crisp for up to five days; exposure to moisture will soften their texture quickly, so avoid refrigerating unless in a sealed, dehumidified container.
- → Can I use liquid food coloring instead of gel?
-
Liquid coloring can introduce extra moisture and may soften the meringue or affect whipping. Gel colors are concentrated and preferred for vibrant stripes with minimal impact on texture. If using liquid, use sparingly and compensate by extending drying time if needed.
- → Are there any tips for ensuring the bowl and tools are ready?
-
Wipe bowls and beaters with a lemon wedge or vinegar and dry thoroughly to remove any trace oils. Grease or residue prevents egg whites from reaching full volume. Use fresh eggs and separate whites carefully to avoid shell or yolk contamination.