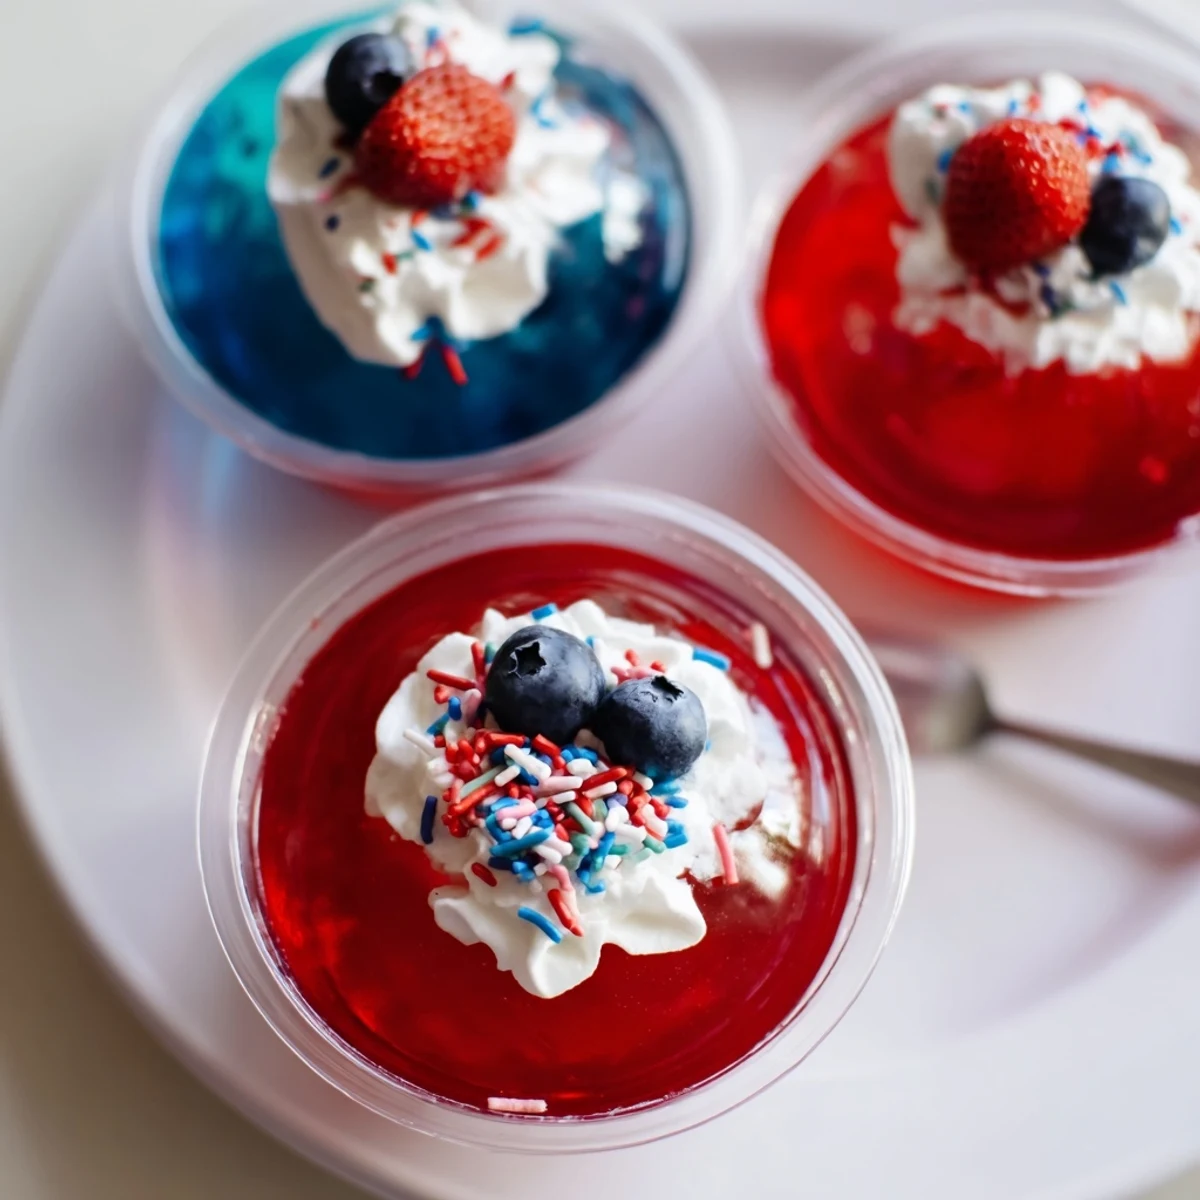
 Pin It
 Build layered red, white and blue cups by dissolving each gelatin in boiling then cold water, dividing the red into eight clear cups and chilling until firm. Whisk instant vanilla pudding with cold milk, fold in whipped topping, spoon over set red layer and chill. Pour the blue gelatin atop the white once firm, then refrigerate 2-3 hours more. Garnish with whipped topping and fresh berries before serving.
Sunlight dancing through our kitchen windows always seems brighter when I make these Red White And Blue Jello Cups. I still remember the first time I experimented with layering gelatin, not entirely trusting they’d turn out as neat in real life as in my mind. As each color settled, it felt a bit like a science project with an edible reward at the end. Summer wouldn’t be quite the same without these playful little cups of patriotic cheer.
Last Fourth of July, my neighbor’s son hovered anxiously as I spooned the white layer on, his eyes wide like it was pure magic. The kitchen filled with giggles when he tried guessing how the blue would balance on top without mixing. After all the layers set, we topped each cup together, each of us sneaking extra berries. That quick camaraderie over jello became the highlight of the party for me.
Ingredients
- Strawberry or cherry red gelatin: Bold, fruity flavor is key for the classic red—be precise with the boiling water, as rushing leads to uneven setting.
- Boiling water: Gets those crystals dissolved for the smoothest, clearest layer.
- Cold water: Helps the gelatin cool, making sure it sets evenly.
- Instant vanilla pudding mix: The magic behind that creamy, white middle; I’ve learned to whisk longer than I think for extra smoothness.
- Cold milk: Mixes with the pudding, so use whole for richer layers or swap for non-dairy for allergies.
- Whipped topping: Lightens the pudding, creating that cloud-like texture—reserve a bit for finishing touches.
- Berry blue gelatin: That electric blue is unmistakable—choose brands you like as flavors do vary.
- Fresh berries and sprinkles (optional): Garnishes turn each cup festive and add a burst of fresh flavor.
Instructions
- Build the Red Foundation:
- Pour the dissolved red gelatin into clear cups and watch steam curl up as you stir, then chill until it’s jiggly but set.
- Mix the White Dream:
- Whisk pudding and cold milk vigorously; I love how the scent sweetens as you fold in the whipped topping—layer gently onto the red.
- Blue Finale:
- Dissolve the blue gelatin and let it cool for a minute before gently layering over the white so the lines stay sharp.
- Chill to Perfection:
- Slide the cups carefully into the fridge; every time you peek, those distinct stripes look a little brighter.
- Decorate and Serve:
- Just before serving, cap each cup with a swirl of whipped topping, berries, and sprinkles for that burst of celebration.
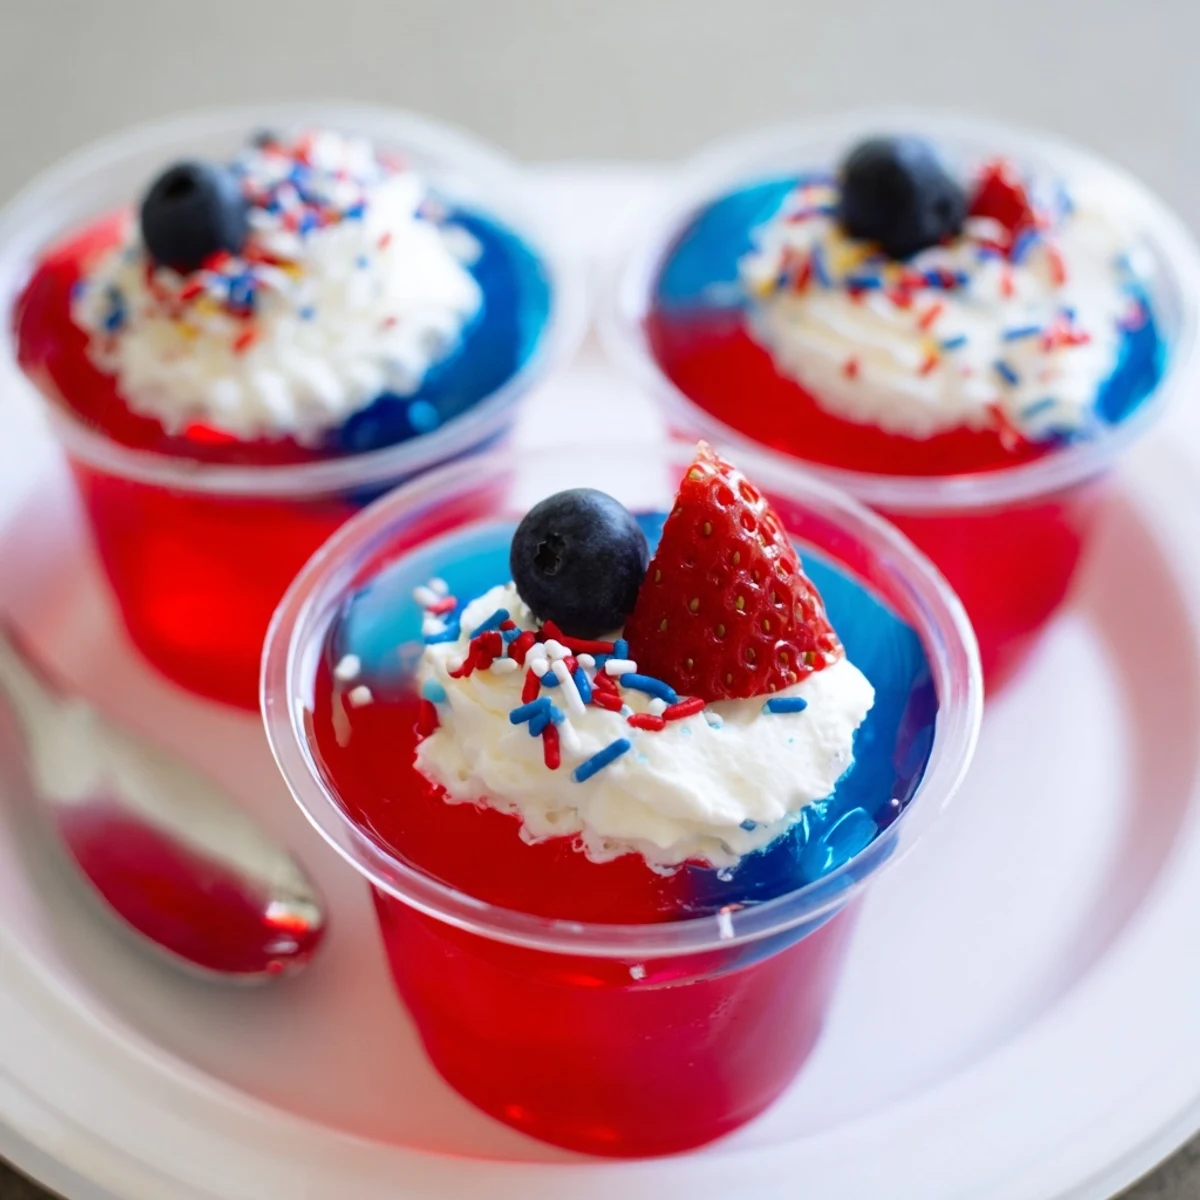 Pin It
 Watching my niece proudly hand her layered creation to her grandfather—sprinkles shaking almost as much as her hands—reminded me food is sometimes just an excuse to make memories together. Suddenly, even dessert felt like a tiny, edible celebration of togetherness.
Kitchen Timing Tricks
Start the red layer first thing, even while everyone’s bustling in the kitchen before a barbecue. In between, I get dishes done or whisk up iced tea, so by the time I’m ready for the next layer, the last one’s already set.
Serving Suggestions Everyone Loves
Clear cups make these an instant centerpiece at potlucks, and I’ve seen friends pile on extra toppings to make theirs stand out. For picnics, keeping the cups in a cooler means everyone gets that icy, refreshing bite on a hot day.
Troubleshooting and Tweaks
The layers don’t always come out perfect, but imperfections never stopped anyone from grabbing seconds. I’ve found letting the gelatin chill just a minute more than you think can work wonders.
- If you don’t have berry blue, mix blue food coloring into lemon gelatin for a quick save.
- Garnish right before serving for best looks.
- A gentle hand when spooning layers keeps lines crisp.
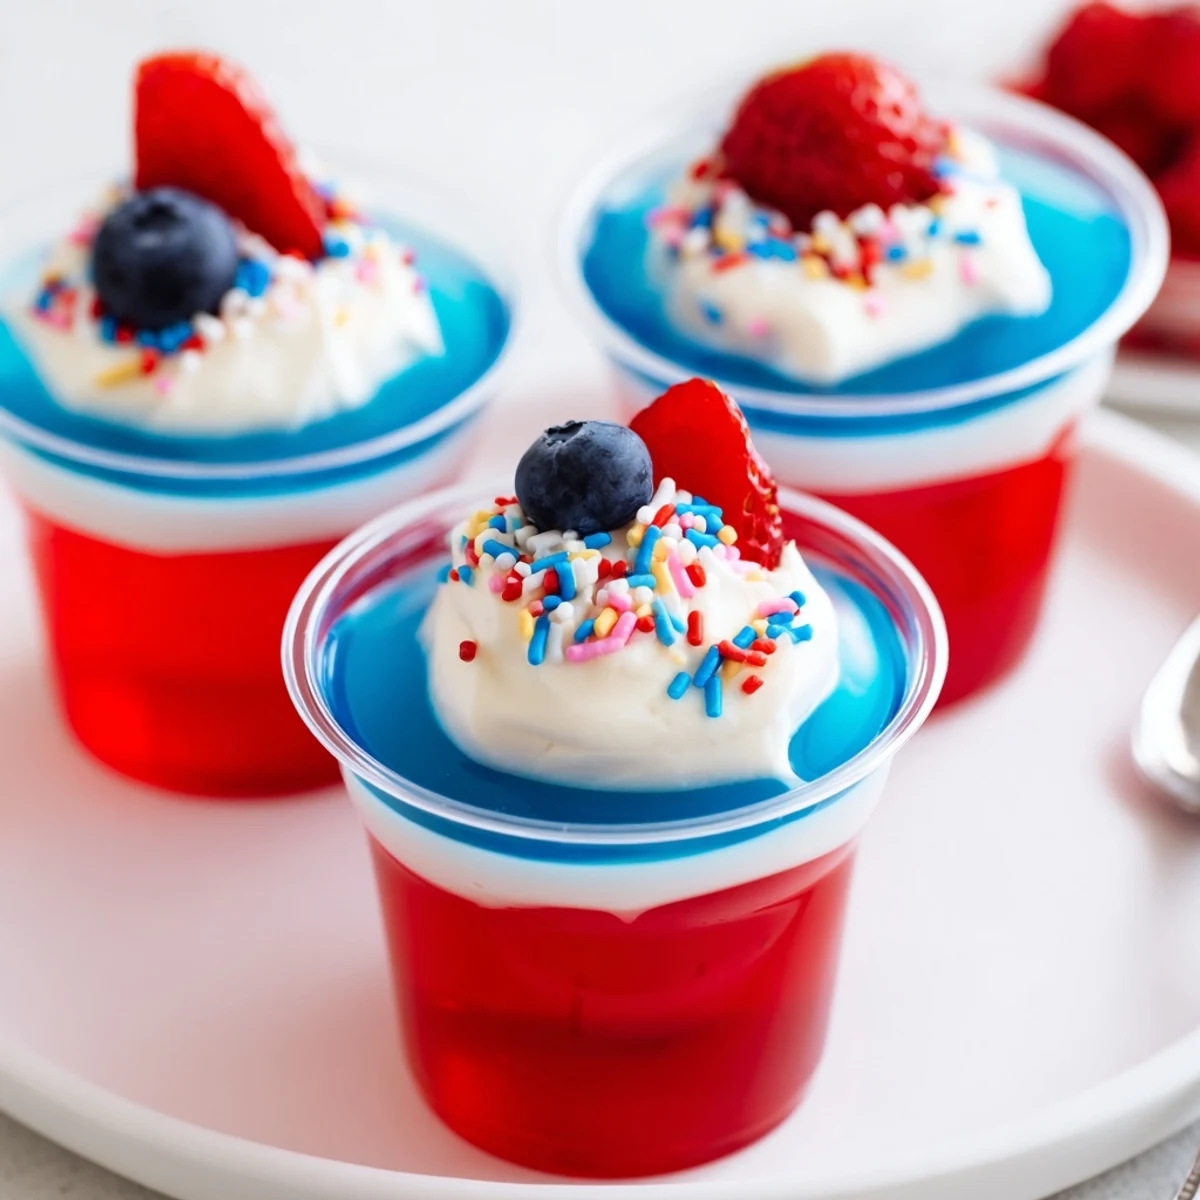 Pin It
 May your next gathering be as bright and fun as these cups. Here’s to good company and colorful sweets!
Recipe Questions & Answers
- → How do I get clean, even layers?
-
Chill each layer until fully set before adding the next. Pour slowly over the back of a spoon or use a small ladle to avoid breaking the layer beneath and ensure even stacking.
- → Can I make dairy-free substitutions?
-
Yes. Use plant-based milk and a dairy-free instant pudding mix, plus non-dairy whipped topping. Ensure the pudding mix is compatible with your chosen milk for proper thickening.
- → What cups work best for presentation?
-
Clear small cups or parfait glasses highlight the layers. Use identical containers for uniform portions; clear plastic cups are handy for outdoor events and easy cleanup.
- → How far ahead can I assemble the cups?
-
Assemble up to 1 day in advance and keep covered in the refrigerator. Wait to add delicate garnishes like fresh berries or sprinkles until just before serving for best texture.
- → How long should the layered cups chill in total?
-
Expect about 3.5–4.5 hours total: 1 hour for the red to set, 30 minutes for the white to firm, then 2–3 hours after adding the blue layer to ensure everything is fully set.
- → Any tips for vivid color and firm texture?
-
Use the gelatin boxes as directed for boiling and cold water ratios, and stir until fully dissolved. Avoid reducing the water unless substituting with a powdered mix designed for firmer set.