 Pin It
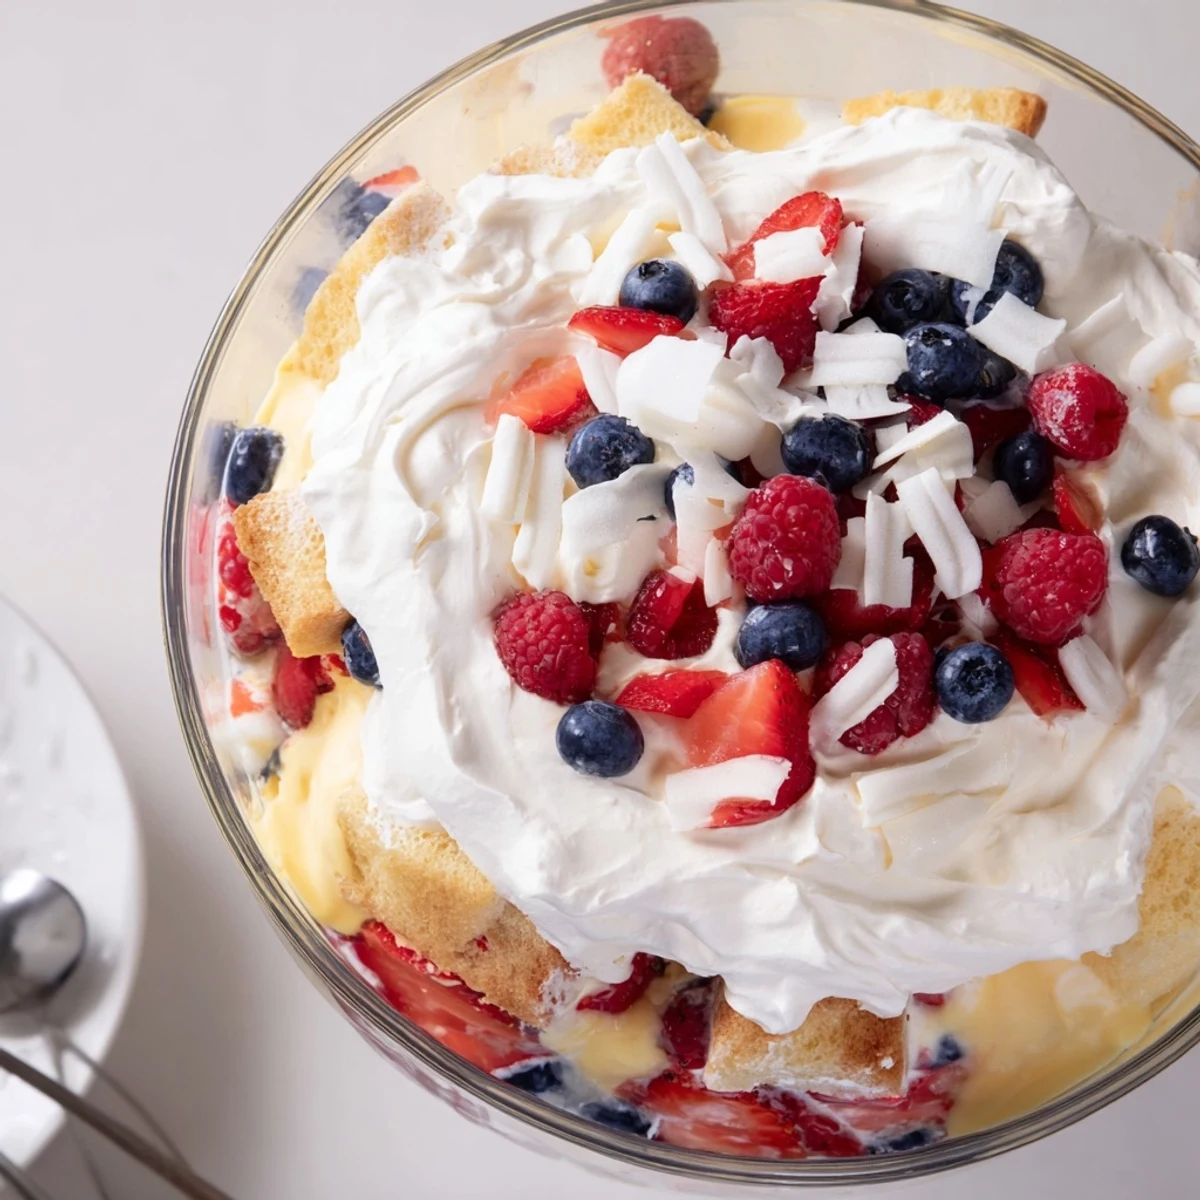
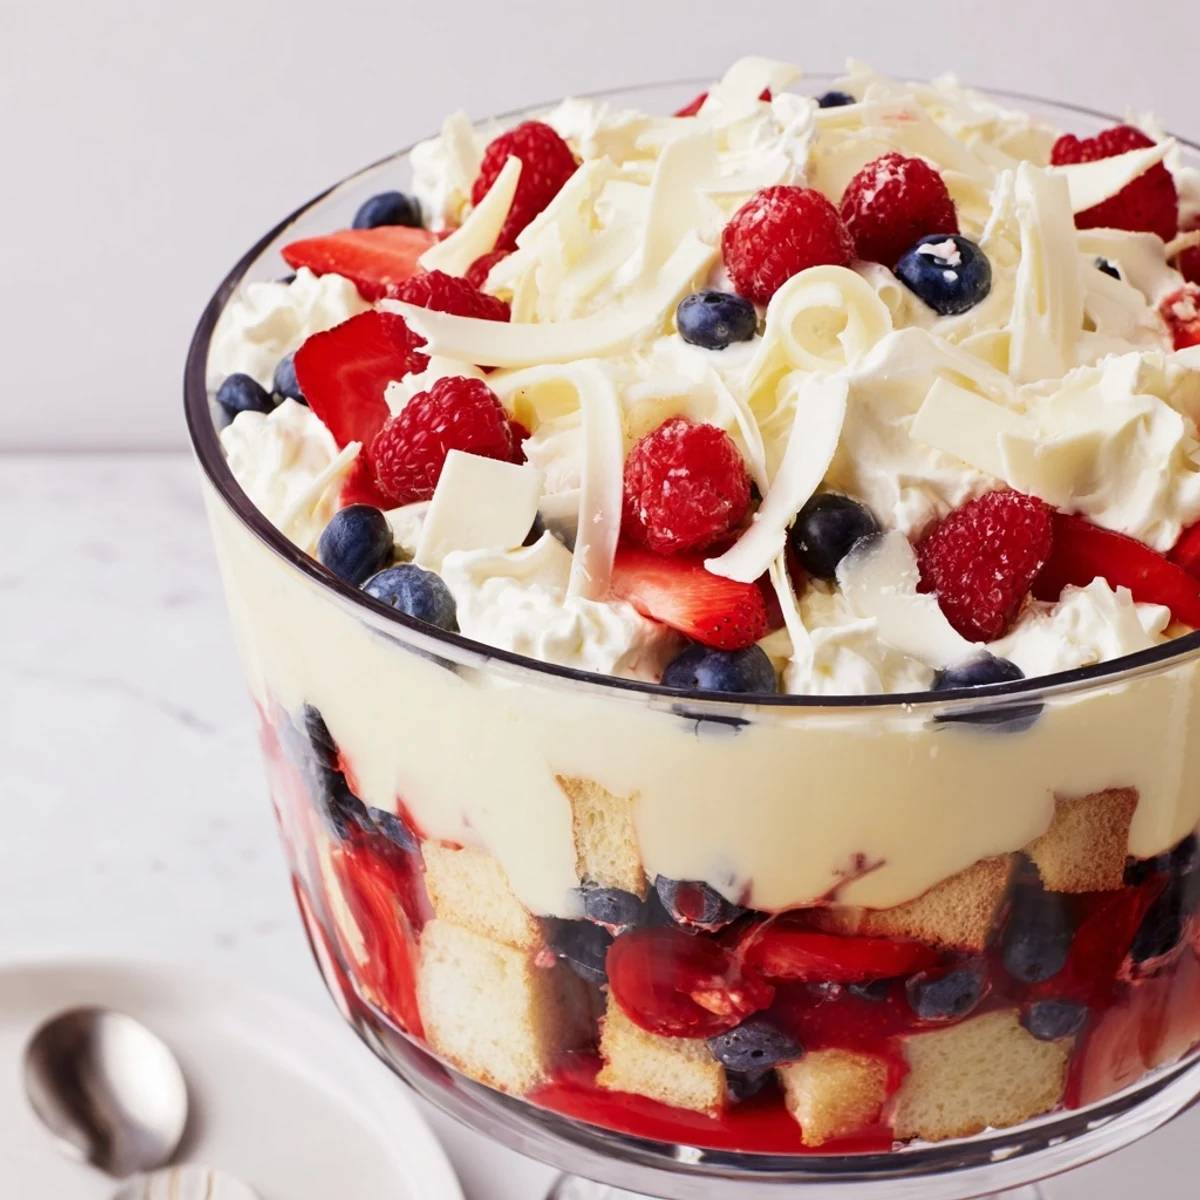
 This no-bake, crowd-friendly bowl layers cubed pound cake with quick-set vanilla pudding, whipped cream and lots of strawberries, blueberries and raspberries. Prep is under 20 minutes; chill at least 2 hours to let flavors meld. Assemble in a clear bowl for a striking layered presentation and garnish with extra berries or white chocolate shavings.
Some desserts have a way of accidentally stealing the spotlight, and this Red White And Blue Trifle pulled that off at the most laid-back backyard gathering in early July. There was music, kids chasing fireflies, and the scent of sunscreen clinging to the air as I layered berries and cream in my biggest glass bowl. Somehow, every spoonful felt light, cool and a little celebratory—like a bite of fireworks without the noise. The only regret was underestimating how quickly it would disappear.
Last year, I put this trifle together with neighborhood friends while the sun was still high and laughter echoed off the deck. There was a little chaos in the kitchen—someone kept munching on the berries, and another nearly grabbed the yogurt instead of heavy cream—but the result was pure joy when the layered bowl hit the table.
Ingredients
- Pound Cake or Angel Food Cake: A sturdy foundation that soaks up flavors but still holds its shape; day-old cake works best for clean cubes.
- Fresh Strawberries, Blueberries, Raspberries: These bring the eye-catching color and juicy tartness; pat them dry so the layers stay neat.
- Cold Whole or 2% Milk: The key to a silky-smooth pudding layer—cold helps it thicken quickly.
- Instant Vanilla Pudding Mix: Instantly thick and effortlessly creamy; don’t overmix for the right texture.
- Heavy Whipping Cream: Whipped just to stiff peaks creates dreamy, cloud-like layers; keep everything chilled for fastest whipping.
- Powdered Sugar: Adds sweetness to the cream without graininess; sift if clumpy.
- Vanilla Extract: A dash in the cream makes every spoonful fragrant and cozy.
- Extra Berries for Garnish: Their pop on top gets the first smiles when it’s time to serve.
- White Chocolate Shavings (optional): A sprinkling elevates the finish, though it's never strictly necessary.
Instructions
- Whisk Together Pudding:
- In your medium bowl, quickly whisk the cold milk and pudding mix—the transformation happens fast. Stop as soon as it thickens to keep it velvety, then let it set, untouched, for a few minutes.
- Whip Up the Cream:
- Beat cold cream, powdered sugar, and a splash of vanilla in a chilled bowl until peaks stand tall; you’ll see gorgeous ridges forming in mere minutes.
- Build the Cake Base:
- Gently layer half of the cake cubes into the bottom of your clear trifle dish, letting some cubes peek out for that dramatic look on the sides.
- First Pudding and Cream Layers:
- Spoon a third of pudding over the cake, smoothing carefully, then cloud over a third of the whipped cream right after for a lush cushion.
- Add the Berry Burst:
- Arrange half of the strawberries and blueberries—scatter artfully or go with your gut, it always looks festive.
- Repeat the Layers:
- Stack in the remaining cake cubes, followed by pudding and cream—this time nestle in the raspberries along with any leftover berries.
- Finish and Decorate:
- Sweep the last of the pudding and whipped cream on top, using swirling motions for a billowy finish, then crown with extra berries and white chocolate shavings if you like.
- Chill and Serve:
- Cover gently and refrigerate for at least two hours—those flavors will get even cozier together as you wait.
 Pin It
 It was after the trifle had been thoroughly demolished that someone confessed to sneaking extra whipped cream from the bowl before assembly. Somehow, that little bit of mischief made the memory taste even sweeter—and now, nobody complains about too much cream.
Layering Without Stress
Perfection isn’t necessary here—the joy is in the messy, colorful layers that tumble onto each spoon. If some pudding drips down the side of the bowl, consider it part of the artistic charm.
Berry Choices and Tricks
Mixing berries keeps each bite bright and balanced. If you ever run low on raspberries, swapping in blackberries or even sliced sweet cherries works beautifully without losing that festive flair.
Serving and Storing for Parties
Making this ahead and letting it rest in the fridge actually improves the texture—the cake gets wonderfully tender but not mushy. When serving, use a big spoon and aim for a bit of each layer every time.
- Layer directly into mason jars for a fun picnic treat.
- Leftovers are rare, but keep chilled and covered for up to 24 hours.
- If your bowl isn’t clear, don’t worry—the flavors still shine through.
 Pin It
 Whenever you need a showstopper with barely any effort, this trifle delivers every time. It’s hard not to smile while scooping out those billowy, berry-filled layers.
Recipe Questions & Answers
- → Can I use frozen berries?
-
Yes. Thaw and drain frozen berries thoroughly to avoid watering down pudding and whipped cream; gently pat dry with paper towels before layering.
- → How far ahead can this be assembled?
-
Assemble up to 24 hours ahead and refrigerate. The cake will absorb moisture over time, so assemble no more than a day in advance for best texture.
- → Any tips for neat layers?
-
Use a large clear bowl and a spatula to spread each layer evenly. Press cake cubes lightly and pipe or spoon pudding and cream in even portions to maintain clean stripes.
- → How can I lighten the dish?
-
Swap heavy cream for light whipped cream or use vanilla yogurt in place of some or all of the whipped cream to reduce fat while keeping creaminess.
- → Can I flavor the pudding or cream?
-
Yes. Add a splash of vanilla or a tablespoon of berry liqueur to the pudding or drizzle liqueur over cake cubes for extra depth of flavor without changing the assembly.
- → What cake works best for layering?
-
Pound cake or angel food cake both hold up well. Choose a sturdy cake that soaks up some moisture without disintegrating for the best texture contrast.