 Pin It
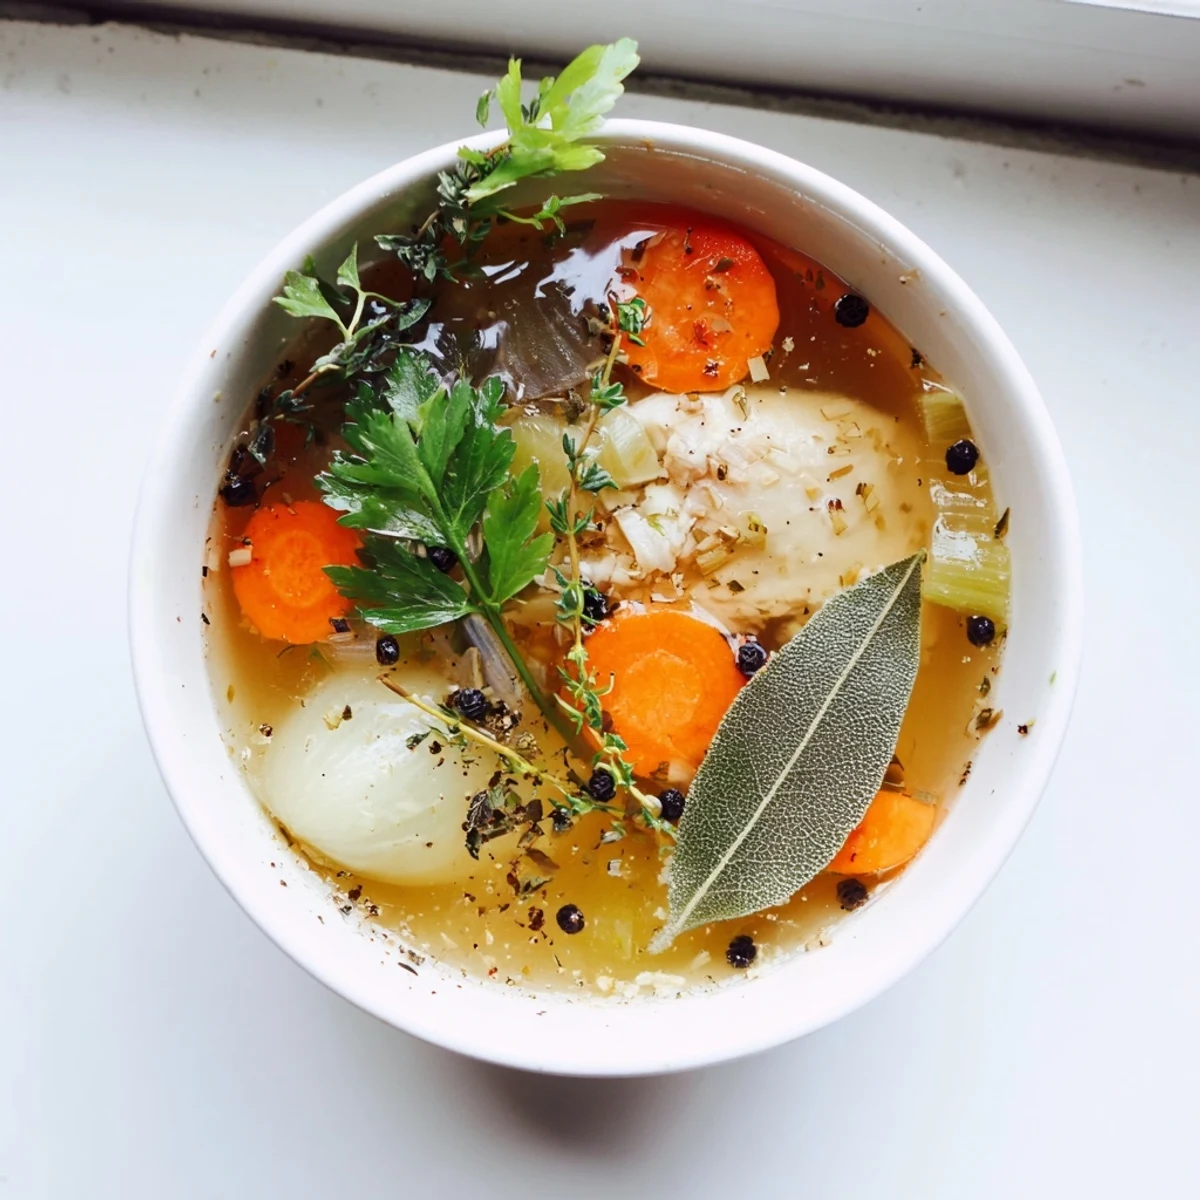
 This slow-simmered method transforms basic chicken bones into a golden, collagen-rich broth perfect for sipping or cooking. The low-and-slow extraction process (12-18 hours) draws out gelatin, minerals, and deep flavors from bones, vegetables, and aromatics. Apple cider vinegar helps release nutrients, while simple vegetables add depth without overpowering the natural chicken taste. The result is a versatile, nourishing liquid that can be enjoyed warm as a restorative drink or used as a foundation for soups, stews, grains, and sauces.
The smell that filled my kitchen overnight was enough to convert me forever: a deep, savory warmth that crept under bedroom doors and greeted me before my feet even hit the floor. Chicken bone broth is one of those things that sounds complicated but is really just patience in a pot. My slow cooker did all the work while I slept, and I woke up to something that felt like a small act of self care.
I started making this regularly after a friend mentioned she drinks a cup every morning instead of coffee. I laughed at the idea, then tried it on a rainy Tuesday and understood immediately. There is something quietly powerful about wrapping your hands around a warm mug of broth you made yourself.
Ingredients
- Chicken bones (1.5 kg): Carcasses, wings, and backs all work beautifully, and a mix of raw and roasted bones gives the deepest flavor.
- Carrots (2 medium): Rough chopped is fine since they are there for flavor, not presentation.
- Celery stalks (2): These add a subtle savory backbone that you will miss if you skip them.
- Onion (1 large): Quartered with the skin on adds a lovely golden color to the finished broth.
- Garlic cloves (4): Smashed, not minced, so they release their sweetness slowly over the long cook.
- Bay leaves (2): Do not forget to fish these out before storing, as they can overpower if left too long.
- Black peppercorns (10 whole): Whole peppercorns give gentle warmth without clouding the broth.
- Fresh parsley (1 bunch): Optional but worth adding if you have it wilting in the crisper drawer.
- Fresh thyme (1 to 2 sprigs): A little goes a long way and adds an earthy layer that ties everything together.
- Apple cider vinegar (1 tablespoon): This is the secret ingredient that helps draw minerals from the bones.
- Cold water (2.5 liters): Start with cold water for the clearest, cleanest extraction.
- Salt (1 teaspoon): Add at the end so you can control the final seasoning precisely.
Instructions
- Load the slow cooker:
- Pile the bones into your slow cooker first, then scatter the chopped carrots, celery, onion quarters, and smashed garlic over and around them. Everything should fit snugly but not be crammed in.
- Add the aromatics:
- Tuck in the bay leaves, scatter the peppercorns, and lay the herbs on top. The arrangement does not need to be precise, just evenly distributed.
- Pour and start:
- Drizzle in the apple cider vinegar, then pour the cold water over everything until the bones are fully submerged. Set your slow cooker to LOW, cover it, and let it go for 12 to 18 hours.
- Skim and strain:
- Check occasionally and skim off any foam that rises to the top. When the timer is up, strain through a fine mesh sieve into a large bowl, discarding all the solids.
- Season and cool:
- Stir in salt to taste while the broth is still warm. Let it cool completely, then refrigerate and lift off the solidified fat layer if you prefer a leaner broth.
 Pin It
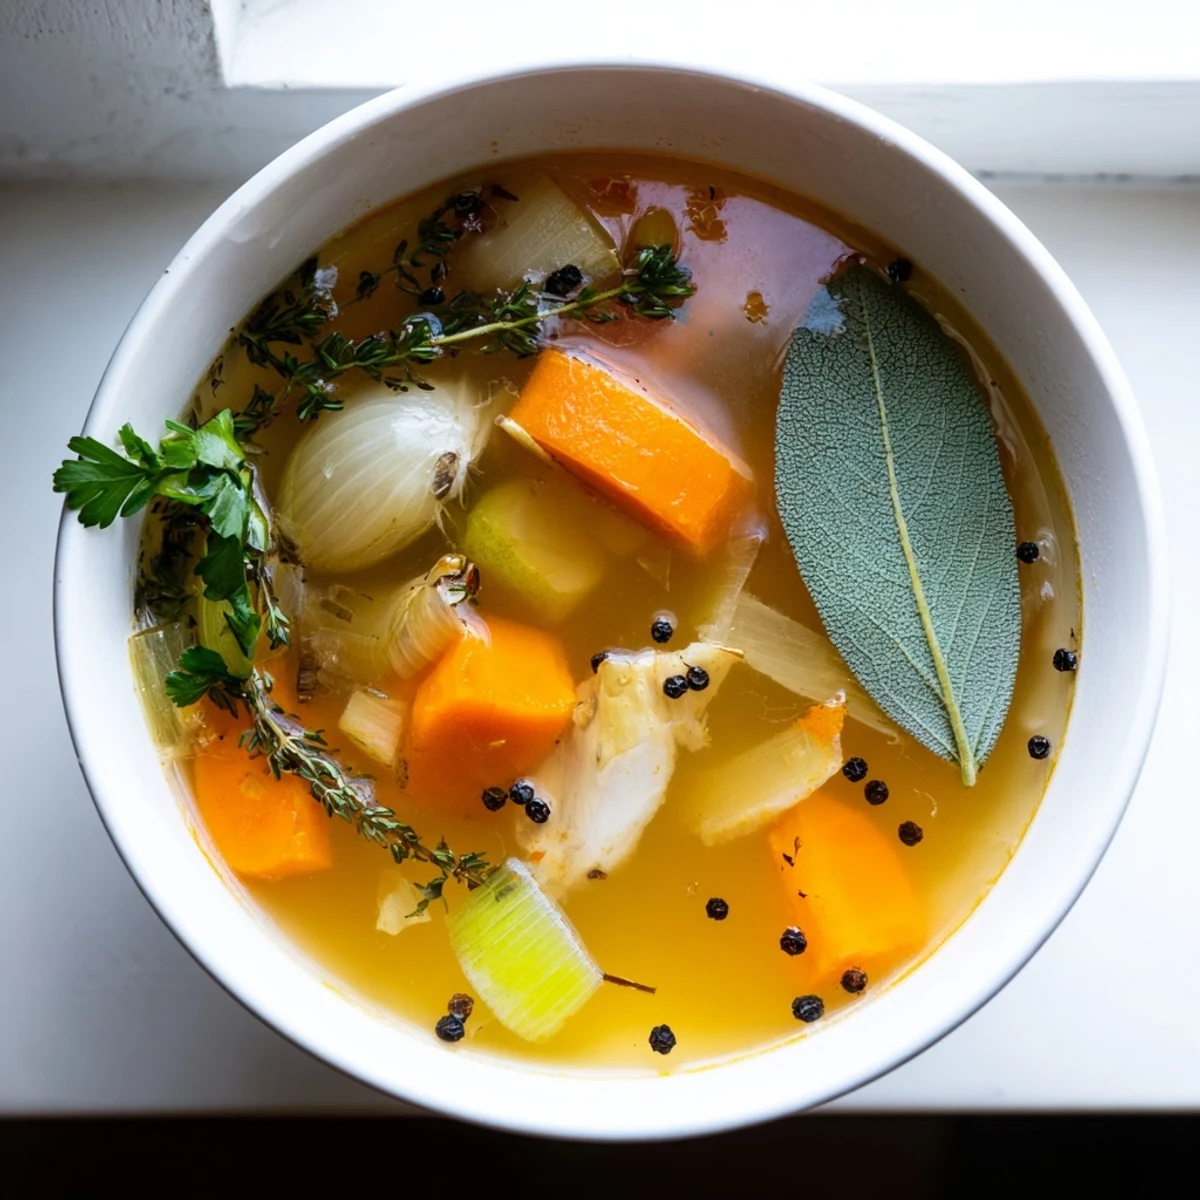
 Pouring this broth into jars and watching it set into a gentle wobble in the fridge is oddly satisfying. That gelatinous texture means you did it right, and your body will thank you for every spoonful.
Choosing the Right Bones
Not all bones are created equal when it comes to broth. Joints, necks, and wings contain more collagen than thick leg bones, which translates to a richer, silkier texture. I always save carcasses from roast chickens in a freezer bag, adding to it week after week until I have enough for a batch. Mixing roasted and raw bones gives you the best of both worlds: the deep caramel notes from roasting and the clean clarity from raw bones.
Storage That Actually Works
Glass jars are my preferred container, but leave at least an inch of headspace because the broth expands when frozen. I learned this the hard way after cracking two beautiful Mason jars in one week. Portion some into ice cube trays for small amounts you can drop into pan sauces or grains. Label everything with the date, because frozen broth all looks the same after a month.
Ways to Use Every Drop
Beyond sipping it plain or using it as a soup base, this broth shines in places you might not expect. Cook rice or quinoa in it for an instant flavor upgrade that transforms a simple side dish. Use it to deglaze pans after searing chicken or vegetables for a quick, luscious sauce. It also makes a wonderful substitute for water in any savory recipe, from braises to stuffing.
- Freeze in ice cube trays for easy portioning when you need just a few tablespoons.
- Warm a cup with a squeeze of lemon and a pinch of turmeric for a soothing evening drink.
- Trust the process and resist the urge to add too many extras, because simplicity is what makes this broth so versatile.
 Pin It
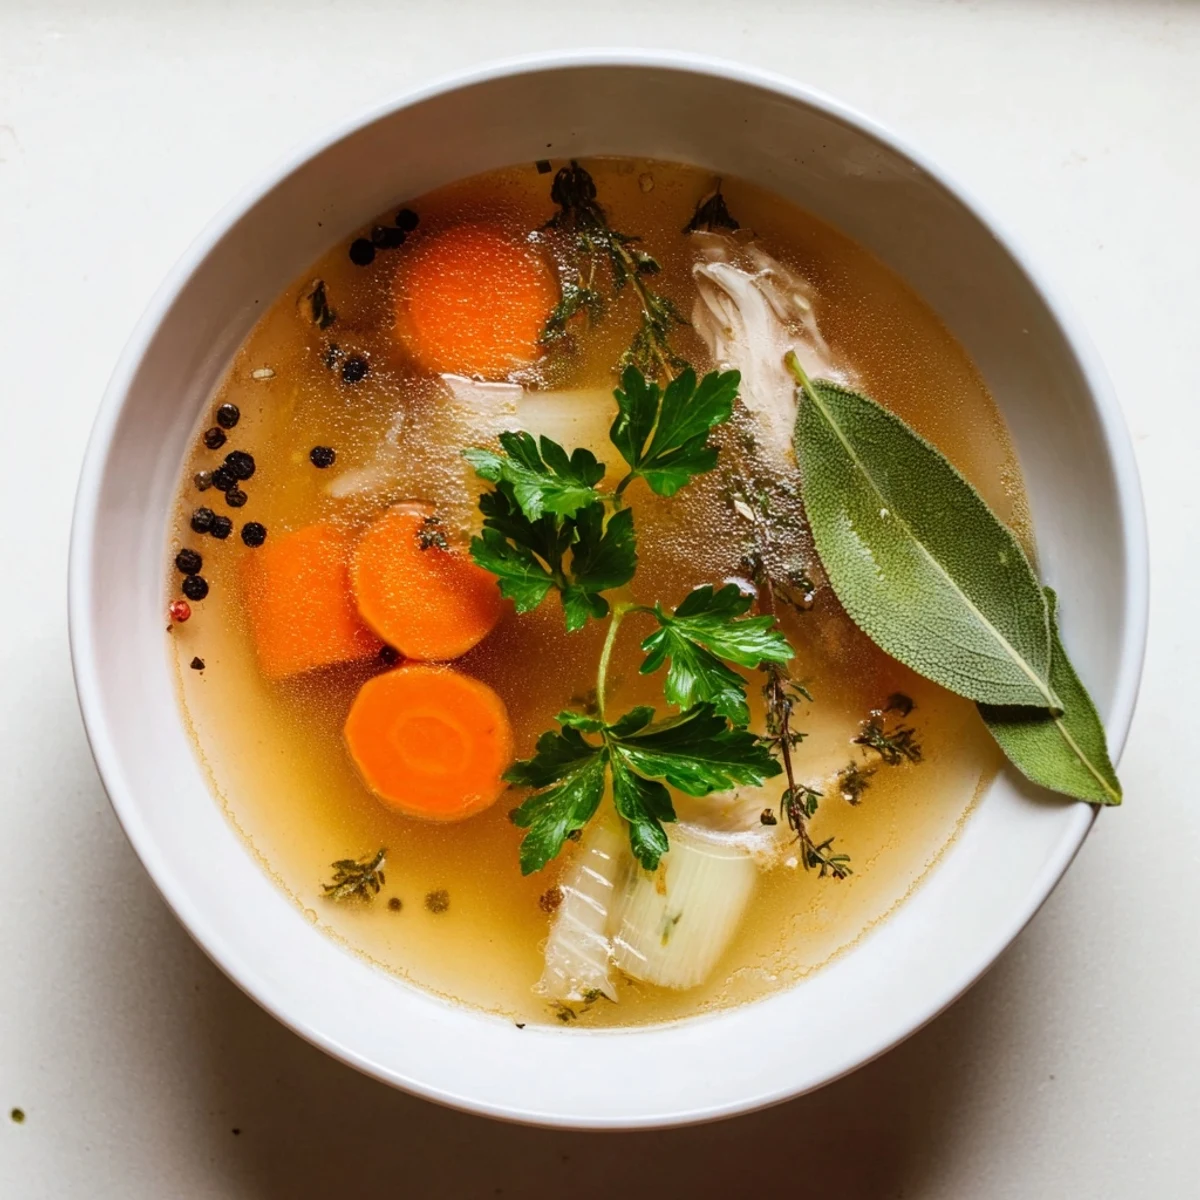
 A pot of broth simmering away is one of the most comforting things a kitchen can offer, asking almost nothing of you while giving so much back. Keep some in your freezer at all times, and you will always be just moments away from something warm and wonderful.
Recipe Questions & Answers
- → How long does the broth need to cook?
-
Cook on LOW setting for 12-18 hours. The longer cooking time extracts maximum collagen and nutrients from the bones, creating a rich, gelatinous broth when chilled.
- → Can I use raw or cooked bones?
-
Both work perfectly. Raw bones yield a lighter flavor, while roasted bones (baked at 220°C/425°F for 30 minutes) produce a deeper, more caramelized taste and darker color.
- → Why add apple cider vinegar?
-
The acidity helps break down collagen and minerals in the bones, making them more readily available for extraction into the broth. You won't taste the vinegar in the final product.
- → How should I store the finished broth?
-
Refrigerate in airtight containers for up to 5 days, or freeze for 3-6 months. A solid layer of fat may form on top—either skim it off or stir back in for extra richness and flavor.
- → What's the difference between broth and stock?
-
Technically, broth uses meat and vegetables, while stock relies primarily on bones. This method bridges both, focusing on bone-derived collagen for that characteristic gelatinous texture when chilled.
- → Can I pressure cook this instead?
-
Yes—in an Instant Pot, cook on HIGH pressure for 2-3 hours with natural release. The flavor will be similar but slightly less developed than the slow cooker method.